I trimmed and deburred the sides of the outboard panel (#4). I'm leaving the spar ends untrimmed at this point.
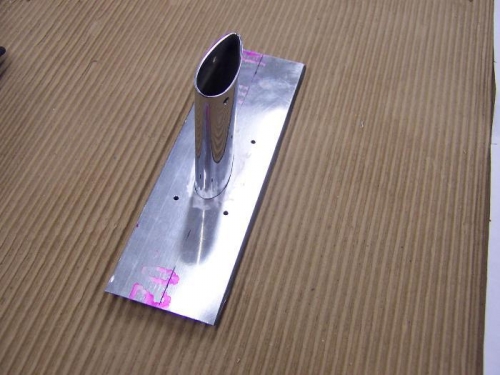
I decided to make a template for the pitot mounting bracket before I fit the next panel. I'll use it to locate and mark the cutout on the panel.
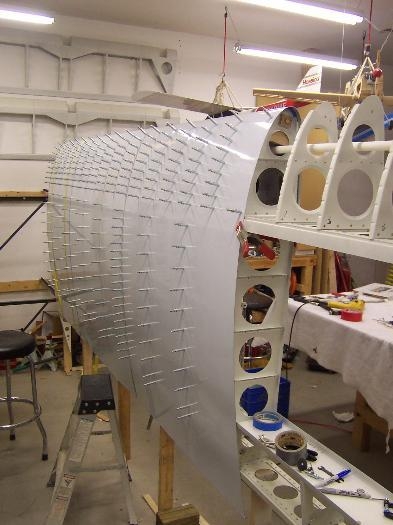
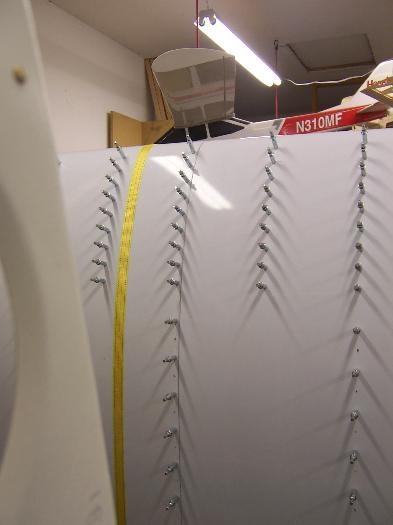
I fit the next panel predrilling only the upper side. With the panel drilled and clecoed to the top of the ribs I then marked the bottom of the nose ribs to the skin and removed the panel and predrilled. It's a little extra work doing it this way but my holes line up a lot better since I started doing it this way.
Before putting the panel on the second time I trimmed and deburred the sides. I clecoed the top of the panel on then set the straps and drilled and clecoed the nose rib bottom. I then added the overlaying panel and drilled and clecoed the overlap. Andrea helped me with the back drilling again. I then added the other panel so all three were on.
Since trimming and deburring the panels sides all overlaps lay nice and tight - even the outboard panel that did not fit tight the first time. I think it helps to trim the sides before doing the overlap.
Working on these panels is time consuming but the process is repetitive enough that there isn't too much head scratching once you've got it down. I've probably removed and put back on the first panel five or six times now. I really don't need all the panels on at the same time but I think it looks really cool!