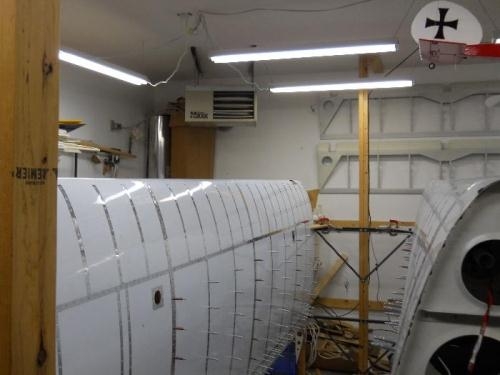
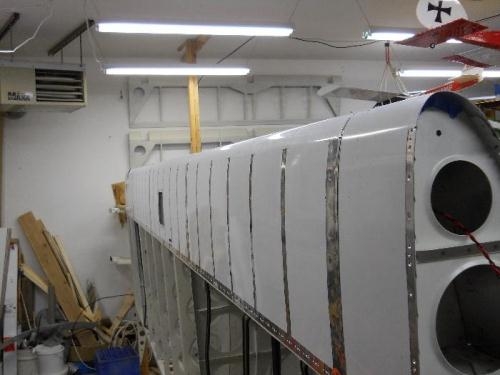
"More progress today. The hard part is done - we finished riveting the nose ribs on both wings.
I spent about 3 hours prepping prior to Jim coming over. I drilled and deburred the nut plate holes on the right wing inboard for the wing to fuselage trim piece. Then I clecoed the skins to the right wing for the last time. I placed and taped into position the rivets I could in the right wing nose rib top side.
We found the electrical conduit difficult to work around in the first wing so I removed it from the right wing. That really helped. I'm glad I changed the hardware set up because with the other setup it would have been imposable to do that. To remove it I left the attach hardware on the tube and just removed the bolt and nut holding it to the plate and pulled the tube out the end.
Another thing we did that helped was cleco only the top row (nose) on the nose rib bottom side. Jim was able to lift the skin to buck the top side of the nose rib which was a lot easier than working through the spar lightening holes.
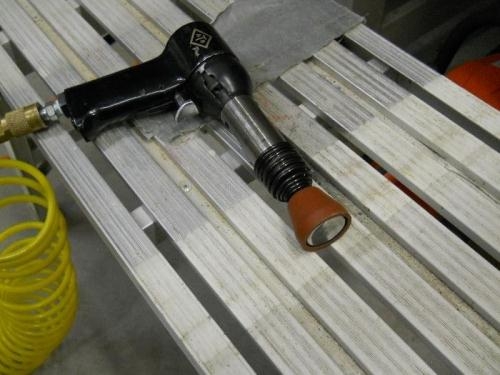
I'm using a flush swivel rivet set to set the rivets.
3/32"" holes rivet sizes: - skin to rib: 3-3.5 - skin to spar: 3-4
1/8"" holes rivet sizes: - Skin to skin (overlap): 4-5 - 2 skins to rib (overlap): 4-6 - 2 skins to spar (overlap) 4-6"