Brief Description: Left flap doublers and nose skin
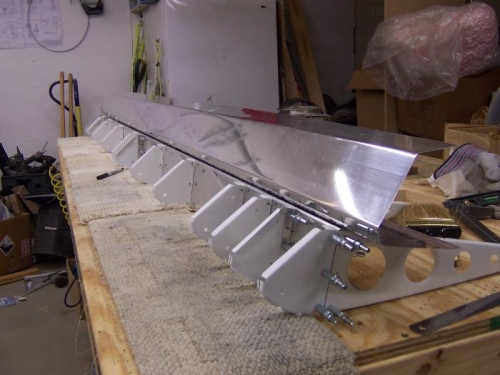
I continued on the left flap by first attaching the doublers. Then I set the flap in the table jig to position the two ribs aft of the center hinge. I made and added the attach angles to the center doubler aft side and trimmed the ribs and, drilled the clecoed at the center hinge aft.
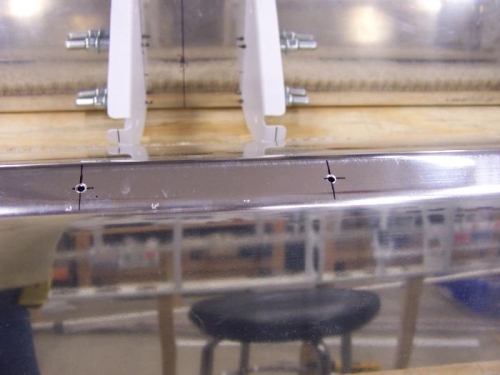
After the ribs were set I took the flap out of the jig and flipped it bottom up to lay out the nose skin. I marked the center of the rib locations on the spar and transferred the measurement to the nose skin point. Then I drilled the hole in the nose skin point to position to nose ribs. Once I had the nose point drilled and clecoed the rest was pretty painless.
Andrea helped me by clecoing the nose skin as I drilled each hole. This was a big help and saved some time. Otherwise I would have to set the drill down and pick up a cleco and pliers for every hole. The nose skin went on much quicker than when I did it by myself
We drilled and clecoed the bottom skin up to the spar. Then I flipped the flap over and secured it flat and square to the table. I'm using an 8' aluminum carpenters straight edge to lay out the rivet locations - this works well. We then drilled and clecoed the top skin up to but not including the spar.
I had already cut the end gusset pieces but I still needed to deburr and form them - so I did that. I didn't get any further than that for today. It looks like I'll be able to finish up this flap a lot quicker.