Brief Description: Trim, deburr & dimple right flap
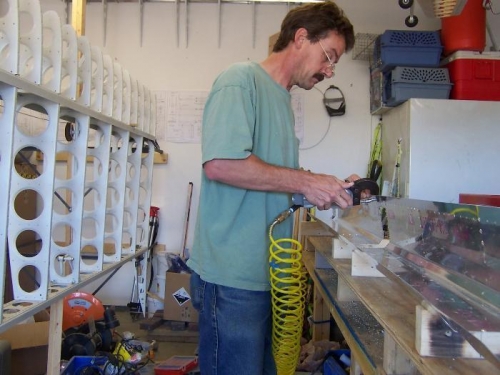
I finished trimming the nose skin for the right rib. I then took everything apart and deburred all the holes in the skin, ribs, gussets and spar flange. I used the burraway tool on the 1/8" holes - that worked well. I wished I had a 3/32" sized too for the other holes.
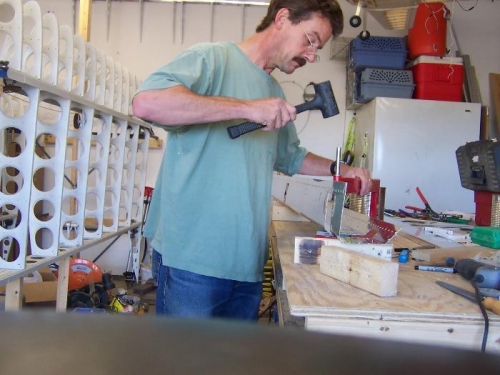
After everything was deburred I dimpled the nose skin, rib flanges and gussets. I was able to use the pneumatic squeezers for most of the dimpling. The holes that I couldn't get with the squeezers I used the C frame.
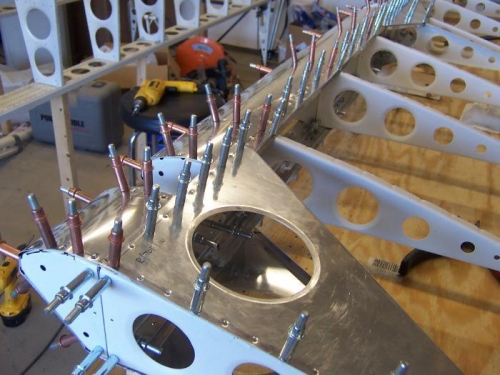
After everything was done I put the flap back together and trimmed and smoothed the hinge openings and ends of the nose skin so there we no rough edges or overhangs. I had also used the seam roller on the nose skin and drilled the aft hole in the skins to rib attach point.
I took the nose skin off again and deburred and dimpled the last holes I had just made. Right rib is ready for priming.
Note: Now a couple days later it just occurred to me that I forgot to dimple the ends and inside the opening for the hinges. I'll need to do that before I prime
Another thing I realized is I should have 4 rivets in the back ribs to attach angle. I'll drill a couple more holes in each so they'll have 5.