Brief Description: Center rib attach to main spar, nose rib layout
I'm probably being overly cautious but I've gotten into a habit of checking spar alignment before and after I do anything. It's actually a simple thing to do that takes about 2 minutes so I'll probably continue to do it for my own piece of mind.
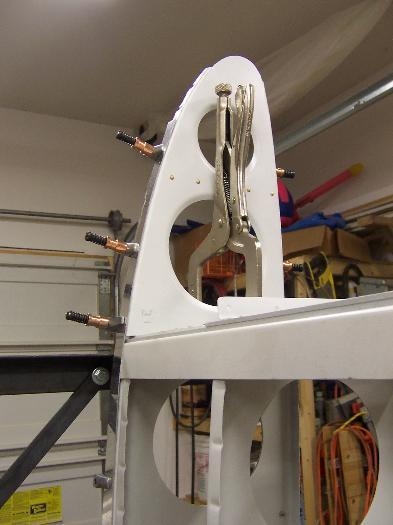
I drilled and clecoed the center ribs to the main spar on the right wing. I used a 6" drill bit again. I drilled my main spar attach angle holes to #30 so the drill bit didn't flex as well as the #40 bit but it still worked fine. To drill the holes in the center rib at the root I had to unbolt the spars to lift them a bit to fit a drill bit in. I didn't really like doing that but I didn't see any other way. It ended up not being a big deal - I set the spars back down and bolted them back on and rechecked everything and it was right on.
I clamped the right wing nose rib 1R into position matching the jig hole in the outboard full rib. I tried a couple different ideas for laying out the string for the nose rib jig hole alignment. Glenn Patterson had a great idea that I used a variation of. I used a 50# fishing line for the string. At the 1R nose rib I used a bead with the string passing through as a centering device. I then stretched the string to the other end and secured it to the wall. I used a bead to keep it lined up at the outboard end too.
It looks like this will work pretty well. The line stays nice and straight. I'll attach one rib at a time using this method. It's easy to unsecured and reset the string at the wall anchor.