Brief Description: Dimple flattening, and counterweight drillling.
Since the home-made dimpler did leave a slightly curved surface around the dimpled #10 hole, I came up with another idea to even out around the edge of the dimple. I put a couple of flat dies on the DRDT-2, and gently tapped around the diples to flatten out the surface as best as I could. I just tapped around the holes gently, go too hard and you may get some ugly marks on the inside of the skin. It won't be seen, but I always felt better if it looked fairly good inside and out. Test fitting the bolt in the hole, it looked pretty good. Not perfect but it would work fine for what I need. Then I used the countersink bit screwed into the deburring tool handle and drilled the countersink holes by hand. It took a little while, and I tested the fit against the dimples often. Once the countersunk holes fit in the dimple without rocking back and forth, I called it good.
Gentle skin squeezing around the dimpled skin.
Test fit. Looks like it worked fine.
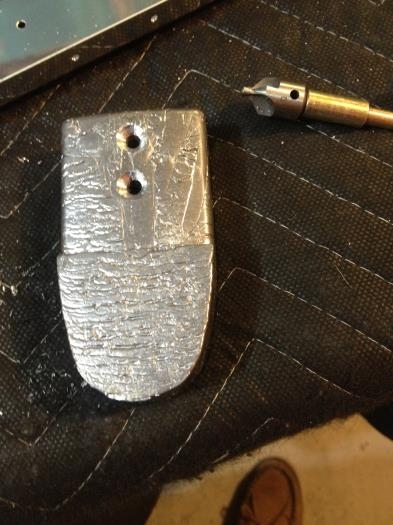
Hand drilled countersink with the deburrring tool.