
|

|
|
|
Traci and Tom's RV-7A
|
Date: 10-30-2013
|
Number of Hours: 1.00
|
Manual Reference:
|
Brief Description: Rolling and finally riveting the rudder leading ed
|
|
Once the flanges are rolled enough, they need to be lined up and clecked in place. As all the other holes, they need to be match drilled with the #30 drill bits, so you need to swap to the larger clekos as you go along.
I curled the last 1/4 to 1/2 inch of the flange to try to get a tigher flat fit once the overlap was in place. Drill, deburr (just rub some Scotchbrite on the hard to access inside) for a smoth hoe - or as close as I could get inside the flange. I know if I didn't deburr and smooth the edges of the evelvator flange, I would have cut my fingers. Btu I did smooth them done enogh!
Next, I took out every other cleko and blind riveted the flanges together. The flanges fit pretty well, but still had a few "pooched" areas between rivets. Again, this is a part of the plane that won't be seen - unless the builder knows where to look!
|
|
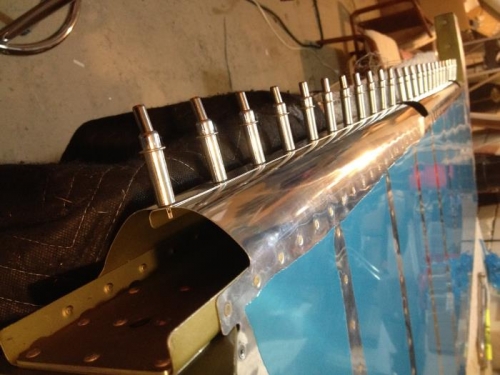
Rolled, yanked, and cleckoed in place.
|
|
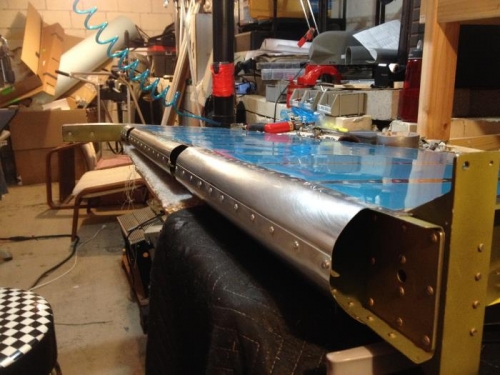
Drilled and blind riveted. Looks good other than a very few bulged areas
|
|
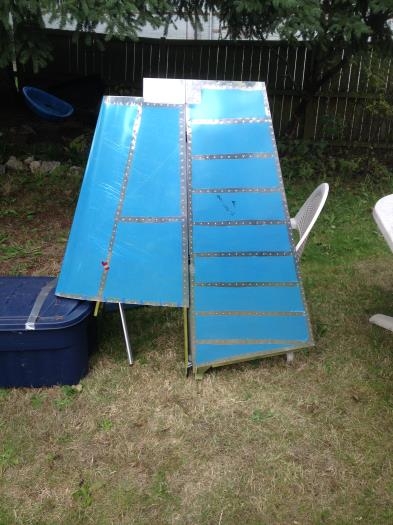
When done, I had to admire my work. More airplane in my backyard- and looks like it!
|
|
|
|
|
|
|
|
|
Copyright © 2001-2024 Matronics. All Rights Reserved.
|