Brief Description: Riveting the rudder trailing egde.
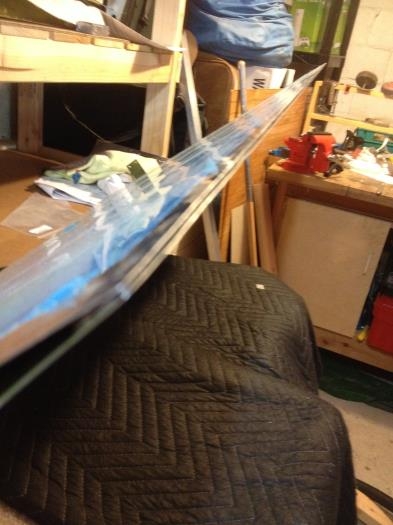
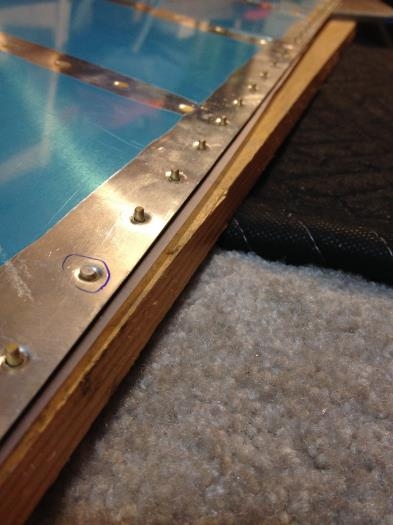
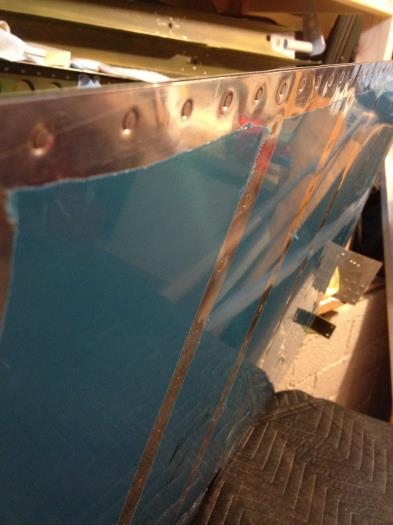
Yet, another much talked about step on the builder forums that got me a little nervous with all the talk about messing up and ending up with a warped trailing edge. Nah...not bad to do at all! I pulled out the clekos that had been in place on the trailing edge for over a week and examined my glued trailing edge. Looked good and straight, so start the riveting. As the manual said, put in the rivets and taped the other side to flip it over. I set a piece of wood under the trailing edge just for even support on the workbench. I used the flat back-riveting plate behind and set each of the 10th rivets about 1/2 way. I reduced the riveter pressure to about 37 psi for a less agressive pounding. I checked the straightness and then did every 5 rivetsl then every 2, and then got them all 1/2 way in. After confirming the trailing edge was straight still, I went through and riveted them all fully down into the dimple. I came out straight, and I didn't have any rivets that I needed to remove and set again. I should note also that I used the flat silver "mushroom" for all these rivets. Not the rubber red "mushroom" on this.
Checking for straightness after removing the cleckos. Looks good!
Halfway riveted every 10, then 5th, then 2nd rivet. Finally did them all.