Brief Description: Riveting the main and counterweight skin.
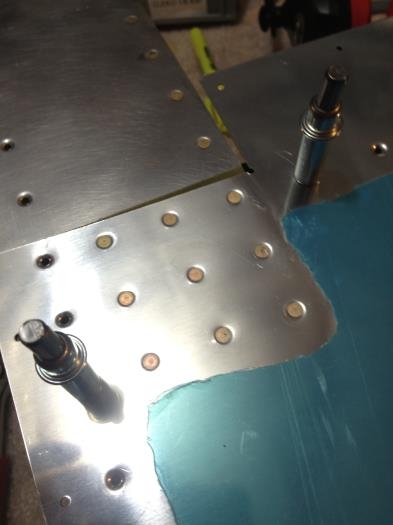
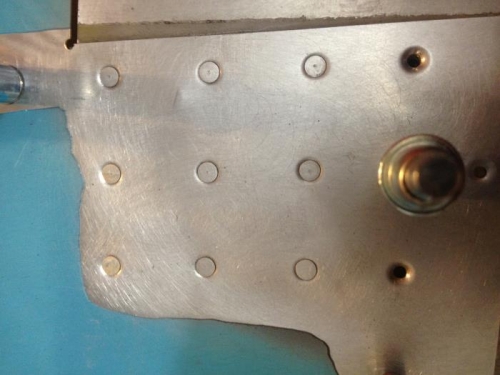
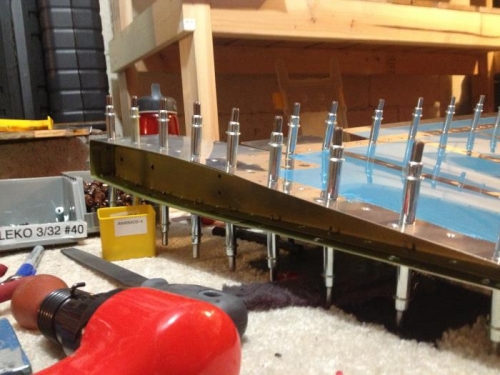
The main skin is attached to the skeleton with clekos, and then start with riveting the skins together at the top around the counterweight. I could get some of the rivets with the squeezer, but most needed the buck bar method. Two different length rivet since a few will go through 3 layers of metal. I had a little problem on one side where the buck bar slipped and put an indentation on the inside which showed up all the way out on the surface. There were a couple of small lines noticed, I buffed it down with scotch-brite to examine closer. I'm not sure if they are just a line or a crack. I did even out the dimple gently tapping from the top, and it's even, but those little lines are still there. I figured there were a lot of rivets and layers there, so it would be very rigid when completed. I let them go. Hopfully, nothing I'll regret later! Top rib then went in place. Blind rivets on the rib/spar joint as usual.