
|

|
|
|
Traci and Tom's RV-7A
|
Date: 8-19-2013
|
Number of Hours: 0.70
|
Manual Reference:
|
Brief Description: Shaping/installing the lead counterweight.
|
|
Time to install the counterweight in the rudder. First, I simply put it in and started tightening the screwes, then noticed that the rib was starting to pucker inwards. Ooops! Remove it and file it down a bit.
It wasn't hard to see what rivets were causing the hang-up since they left an indentation in the lead, so I had a good idea what needed to come off.
Some filing, testing, filing a little more, another fit and it was pretty close. It kind of tiped back and forth a little bit on the rib dimples, when I fit it in, so I simply enlarged the countersink on the weight a little more. Fit flat and good, so I put in the nut and bolt. Torque was supposed to be about 20-25 inch/lbs, so I split the difference and went with 23-in/lbs (seems that other builders used that amount too). Others had a good idea of a blob of paint or something for a little extra security. I mixed up a little epoxy and put a blob across the nut and bolt.
|
|
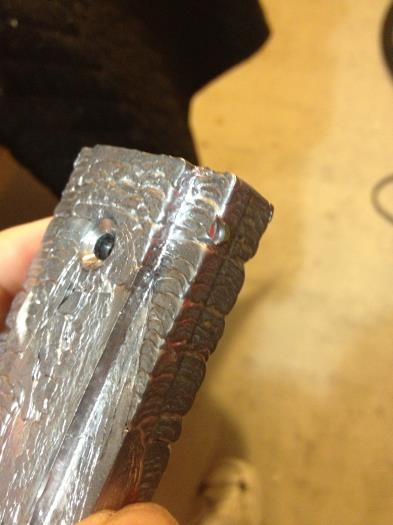
Easy to see the offending rivets that blocked the weight.
|
|
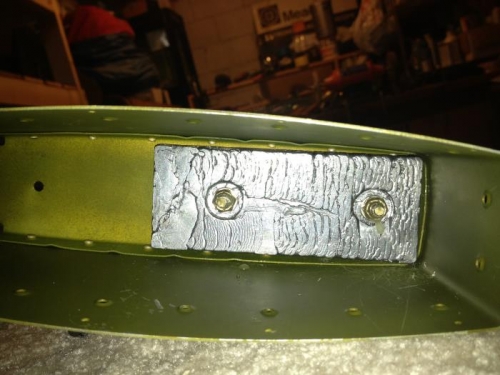
Weight installed. Hard to tell, but I put an epoxy blob on each.
|
|
|
|
|
|
|
|
|
Copyright © 2001-2024 Matronics. All Rights Reserved.
|