Brief Description: Skin HS601PP riveted to HS708 and rear spar.
I got a lot done today on the horizontal stablizer. I'm getting a lot more comforable with the riveting now. I can get about 20 in a row hammered in well, with an occasional screwed up rivet that needs to come out. Seem that sometimes when you have one of those that sticks out a little, it can still be salvaged with a little extra pressure on the rivet gun to work it down in the hole. Don't just hammer on the thing without a buck bar behind, I did try that with a bar behind the rib, but still endede up with a minor crease in the skin, so if it goes badly, just drill it out. I had one out in about 3 minutes with a clean hole left behind so I'm getting a lot more confident with this critcial skill! Originally, I was thinking of counting my removed rivets like I have seen one builder do, but I lost count after 15 so that idea was abandoned. After the rivets were in the skin as mentioned in the manual, I temporariliy clekoed the rear spar on to carry it out back for another squirt of primer on some of the suffed primer from the buck bar - I find that it's pretty hard to avoid some scuffing! Looks like I'm soon on my way to the vertical stablizer. This is a LOT of fun once the fear of the riveting (and removal) has been mastered - or at least improved to a less scary level! :-)
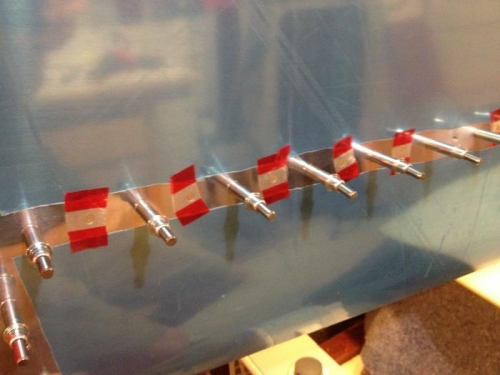
Alternating rivet installs for a tight fit Rivet tape holding them in place.
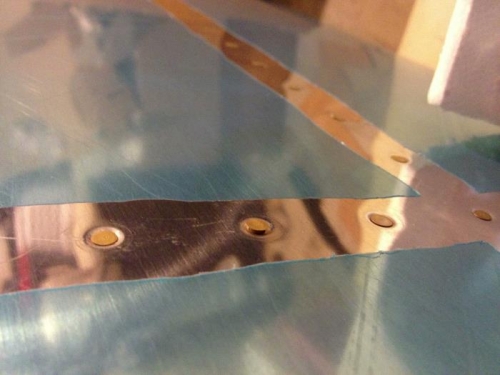
One of the "oops!" rivets that went in wrong. Easy fix now.
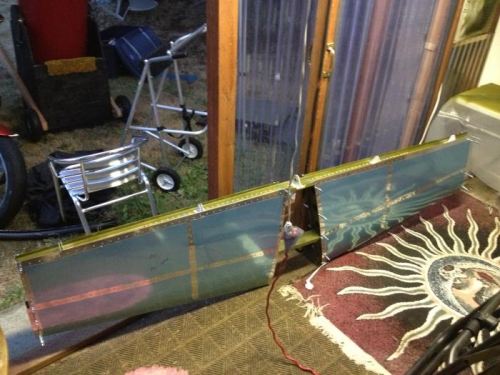
Rear spar on for carrying upstairs. Just some primer re-touching.