
|

|
|
|
Traci and Tom's RV-7A
|
Date: 6-12-2013
|
Number of Hours: 1.00
|
Manual Reference:
|
Brief Description: Starting the right horizontal stabilizer.
|
|
After all holes were drilled in the skin, it was removed again and carefully tucked up on the shelf again. The last step of the hole drilling and other assembly of the left side horizontal stablizer, was to simply take it all apart again and then repeat all the steps again to build the right side.
Since a lot of the holes have already been set during the pre-build of the left stablizer, the right one went together fairly quickly. Maybe I also understand what I'm doing this time since I just did all this before anyway! I found that the tricky part is just getting the skin on the spar/ribs. Kind of have to hold the springy thing down and start with the forward leading edge side of the ribs and clecko those in first and work backwards. There is just more of a pinch in there that has to be dealt with while trying not to jam the inside of he skin too badly with the foerward edge of the ribs. But then again, the blue plastic is doing it's job!
I probably won't post as many comments on this other than maybe something I learned in the process, but will keep the log times up to date of course. This is all a repeat of what I did before, but I'll definitley post the results of the tricky HS-405, spar, HS-404 hole making again. I hope I get them a little closer to center this time, but it should all be fine anyway with enough "meat" around the holes.
|
|
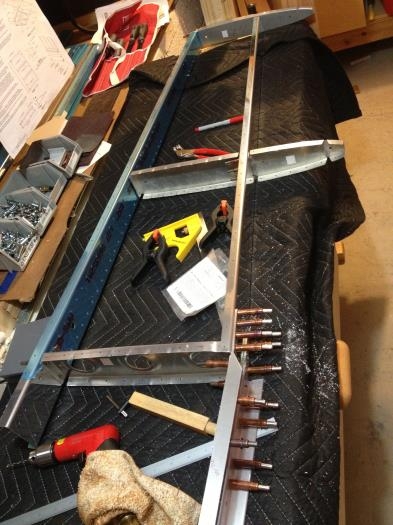
Holes done, skin removed again.
|
|
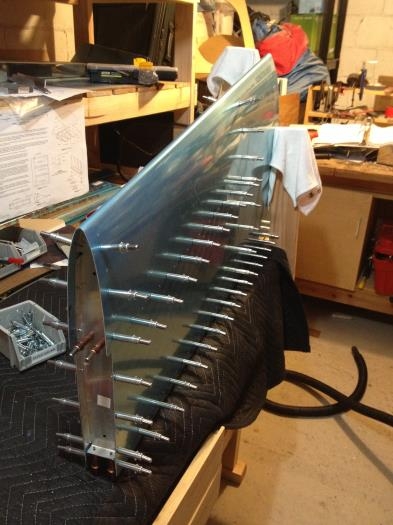
No, not the left sid flipped, but the right stabilizer already.
|
|
|
|
|
|
|
|
|
Copyright © 2001-2024 Matronics. All Rights Reserved.
|