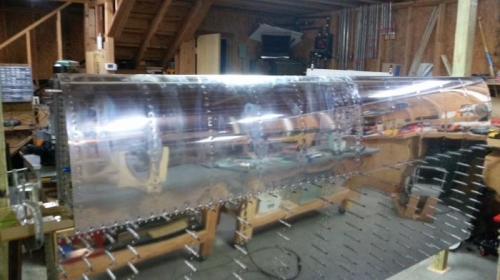
Brief Description: Closing up right wing tank with baffle
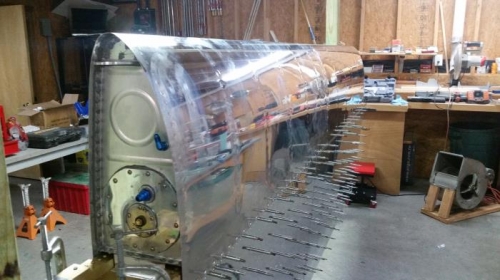
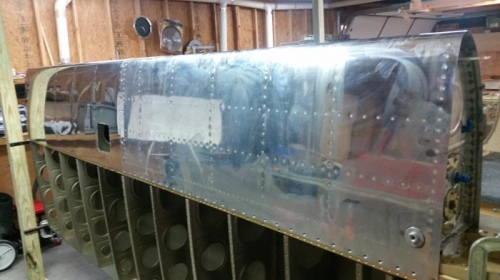
Re-inspected right wing tank interior parts. Checked and added additional sealant on all rib tips, and on rivets on interior. Checked all rib flanges and added where possible voids may be additional sealant. Put sealant on fittings for vent line and fuel pick up just in case. All looked complete, so I applied the sealant along the row of rivets as per plans and put large amounts of sealant at the corners of the end ribs. Also, put a small amount of sealant at the end ribs where the baffle attaches. Put a small smear of sealant at the rear flange of each rib an installed the baffle. Used the squeezer on rivets accessable, and bucked the rest on the end ribs. Clecoed the rib end flanges to the baffle where the Z brackets will attach. Used the Squeezer to squeeze all horizontal row of rivets both sides of baffle. Then, put a smear of sealant on the exterior of the baffle where the Z brackets install. Started at the Outboard rib an installed with the pull rivets as per plans, smeared with sealant at installation. All went well on the installation of the baffle. Decided to test fit the fuel tank on the Main spar, to see that the Z brackets lined up and bolts could be installed with no resitance. Lined up perfectly. Bolts installed no problem. I then removed and set aside to allow the sealant to cure for a couple of days then leak test.
Finished tank test fit on spar to check Z bracket bolt locations