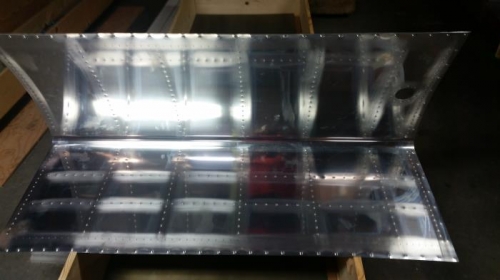
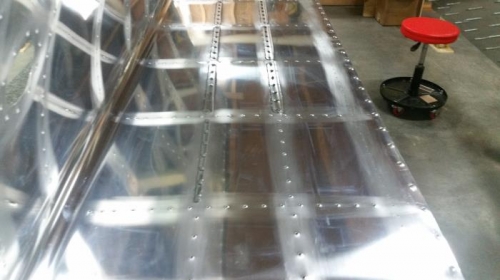
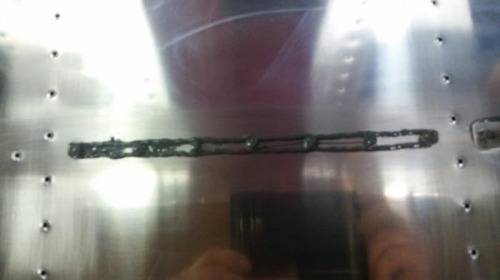
Started on Right wing tank. I scotch bright all areas where ribs or stiffners will attach to the tank skin. then Cleaned with Lacquer thinner first, then with MEK till the rag was clean when applying the MEK. I Did this on all tank parts for the Right tank. Decided to clean and prep the Left tank as well. Cleaned the Stiffners along with all interior parts. Received the tank sealant from Vans Aircraft, got out my letter scale and the necessary items to mix the sealant. I had purchased a Semco sealant applicator from Brown Tools, Along with 2.5 oz cartridge and nozzels. There were also included a set of plastic spatulas of different sizes 1/4" to 3/4" in width. These will come in handy spreading the sealant for the ribs adn for making fillets along the ribs and dabs of sealant on the rivet heads. I mixed 3oz of sealant on a 12 x 12 piece of granite as a mixing site. Once mixed, I transfered into the semco cartridge. Picture 3 showes the first application with the semco gun. I then spread the sealant with the 1/2" spatula to a height of 1/8" . Turned over and installed the rivets for the stiffner and covered with electric tape. All stiffners are to be back riveted. As per plans.