Brief Description: Temporarily installed front skin and baggage door
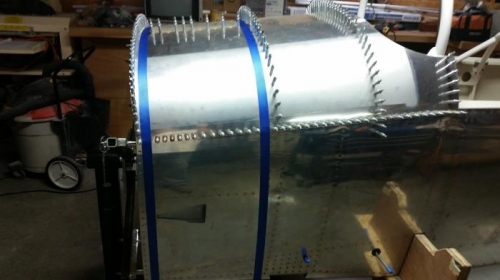
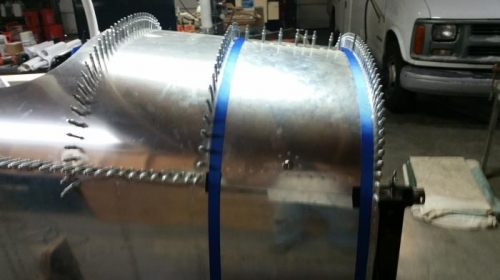
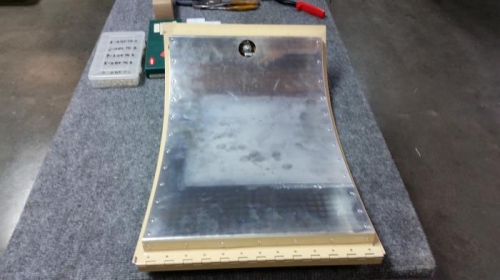
I purchased long 15' ratchet straps to help hold down the baggage door to rivet inside skin on. I reinstalled the front skin with clecoes. Positioned the baggage door in place and used gorilla tape to hold firmly while I placed the straps on for a more firm attachment while I pop riveted from the inside, the inside baggage door skin. First positioning of the baggage door with tape, door lays really flat on all edges of the forward skin. The straps made it not move in any direction when pushed on from underneath. I positioned myself inside the fuselage with the approporate rivets and pop rivet tool. I could rivet all but one rivet from the inside on the forward and rear rib. The end ribs will have to be riveted after removal of the baggage door. Last picture is of the finished door complete. When placed back on the fuselage, the only distortion is at the rear lower corner, which is only about a 1/16". All should be great when the vinyl lock blocks are installed. Almost no pressure at all is needed to fully close the loose door to the fuselage. I'm very pleased with the final results so far. Now, I'm waiting for another friend to finish the Labeling PDF file for the silk screening of the instruments labels on the Avionics panel. Until that is done, I plan on putting aside the fuselage and start on the wing build. Still lots to do.
Left side of forward skin with straps installed
Right side with baggage door strapped and taped down