Brief Description: Prep parts for instrument panel
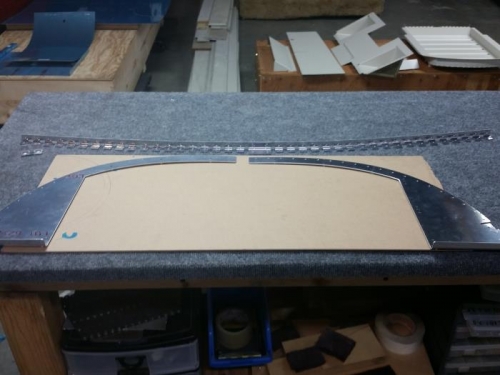
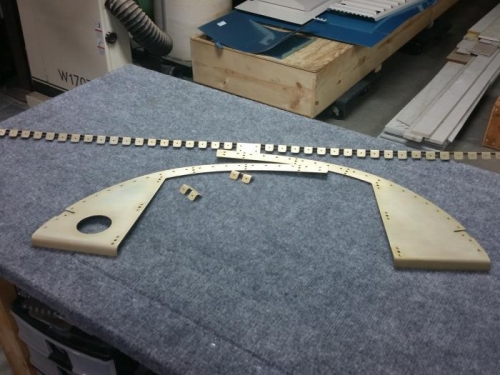
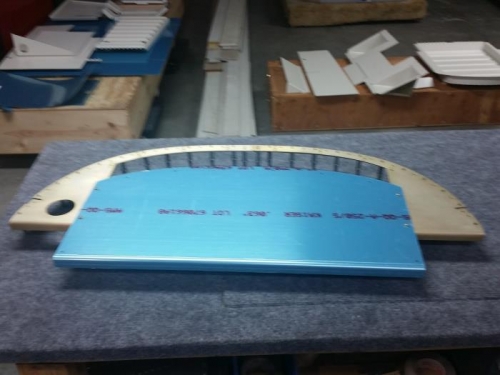
Got all parts out for instrument panel and drilled all 3/32 holes to 1/8". Deburred all holes and edges of parts. Clecoed all parts together to match drill skin attachment upper flanged strip. Decided location for fresh air vent an drilled with fly cutter to 2"1/8". Deburred all parts from previous step and scotch brite, alumi-prep and alodined. Next to install the required 12 nut plates for the main panel. Finally, clecoed the flanged strip every other hole and installed per plans the main panel 1 hole lower to allow for the flanged strip to be riveted. Left a step out. Before the alodine process, I machine counter sunk all holes both the flanged strip attachment holes and the nut plate holes all on the aft side of the panel. While clecoed together, I used the pnuematic squeezer to set all flush rivets, both nut plates and the flanged strip. Wasn't sure till it was further described in the instructions, to leave the 8 center most rivets out till installed in the fuselage. Then, It was clear, with the center most 8 rivets left out, the sides will fold in slightly to allow the panel to be installed in the fuselage.