
|

|
|
|
Marks Rans Courier Project
|
Date: 6-27-2009
|
Number of Hours: 7.00
|
Manual Reference:
|
Brief Description: Install windscreen, more work on skylite
|
|
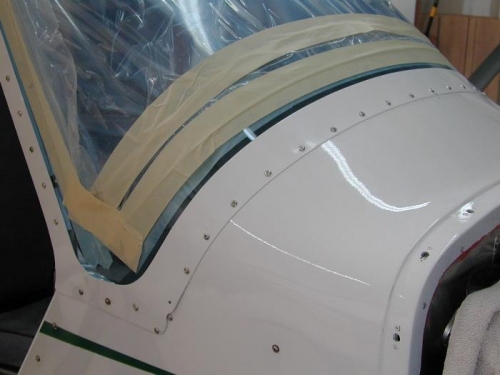
Mike assisted today. I did some final prep work on the windscreen trim strips, cleaned all the mating surfaces on the windscreen, trim strips and Z-metal mounting brackets etc. I used clear siliicone adhesive/caulk on the boot cowl joggle, and on the trim strip pieces to help seal the windscreen. I will need to do additional work with the silicone around some of the trim strip edges to ensure that everything is as water resistant as possible.
We set the windscreen into place, then cleco'd the trim strips in place as well. We then removed the clecos one at a time and replaced them with machine screws and nylock nuts. The manual calls for rivets to be used to fasten the trim strips into place, but as I am using an acrylic windscreen that is somewhat thicker I did not want to use the stock factory-supplied aluminum rivets. After discussion with several builders and mechanics I elected to go with the screws.
We installed all of the screws and everything went together acording to the plan, and looked nice. Then I realized that we had not put the foam material under the Z-metal where the metal clamps against the door frame tube. I suspect that, without the foam padding, there is a good chance of getting a squeek or other obnoxious noise from the mating surface between the Z-metal and fuselage tube, so we pulled everything back apart, installed the foam strip material, then reinstalled the windscreen.
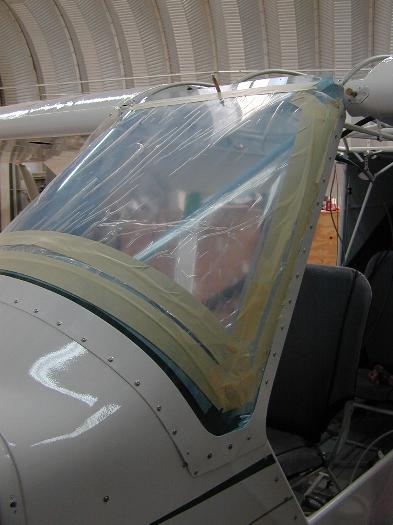
Next we moved on to the skylite. I had to trim the aft edge of the skylite to match the trim strips that attach the lexan to the fuselage at the rear edge. I also trimmed back all of the protective plastic from the parts of the lexan that will mate with the plane's structure.
|
|
|
|
|
|

|
|
|
|
|
|
|
|
|
Copyright © 2001-2024 Matronics. All Rights Reserved.
|