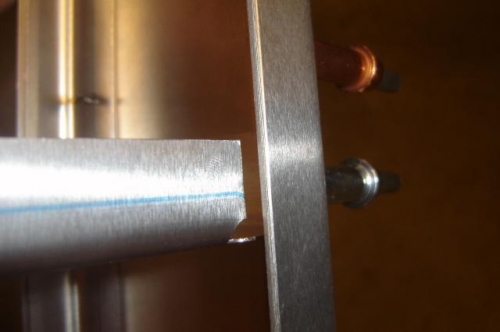
After this afternoon's Easter party with family and friends I match-drilled ribs 2, 3, and 4 - along with the nose rib - to the spar then assembled with clecos. Everything went together according to the drawing and Assembly Guide but the Rib #2 side flanges were not on the same plane as the spar flange. All of the dimensions checked out but the angle of the spar flange was closer to 90 than 84.5 so an extra tweek will bring the parts in line.
Important Sequence Note: Page 11 of section 6-T-4 in the Photo assembly guide shows the skeleton completely assembled with notes saying: "(The photo above shows rear rib #1 installed, this is done later.) Note: Don’t rivet the Spar and Doubler below Rear Rib #2."
There is no explicit instruction to NOT match drill rib #1 to the spar. Looking at logs of other builders I noted they too completed the skeleton as an independend subassembly. However, Rib #1 is NOT to be marked and match-drilled to the spar until the rear skin is layed out as shown on page 3 of section 6-T-5 in the Guide since the bottom edges of the rear skin will define the up-down location of Rib 1, not the bottom of the spar or doublers.
Lastly, drawing 6-T-4 illustrates the Rib 1 flange outboard of the spar but the Assembly Guide explicitly instructs the builder to insert the flange between the spar and doublers. The Construction Standards state that when in doubt the drawings take precedence but in this case I challenge that assertion.
Thanks to mom - Grandma Cookie - for taking my picture.