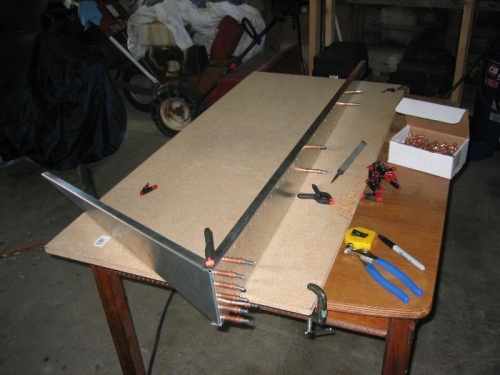
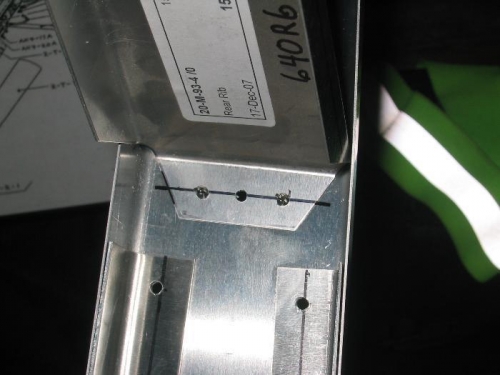
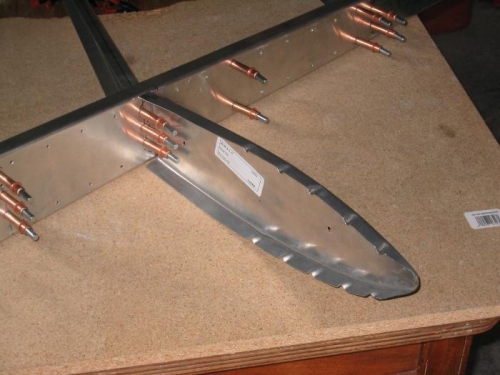
Once the measurements had all been made, and the doubler holes drilled, the rib installation was pretty easy. When placed exactly where they were supposed to go, the ribs did not interfere with any of the other parts that attach to the spar. The main area where I had to be extra careful was where the upper hinge brackets attach. There are two of them in the front, and one of the ribs just behind them in the back. This is definitely one of those areas where you measure twice and drill once!! The hinge brackets were a bit hard to clamp down while drilling because of the flange on the spar, and small size of the the brackets. The brackets were suppose to have a 10mm gap between them. Mine slipped slightly, and have an 11mm gap. Hopefully it won't make a huge difference later. I did use the drill bit I made the 1/4" holes with to help line up the brackets while installing. They didn't come cut exactly as per the drawings from Zenair. They were of slightly different size and shape as well.