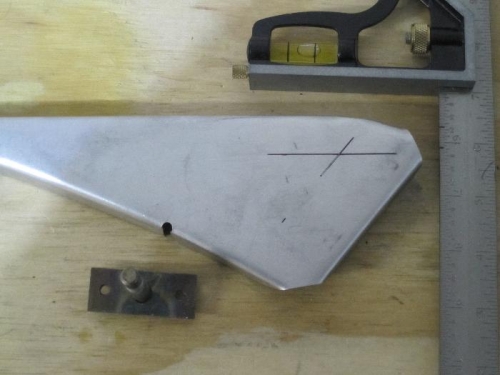
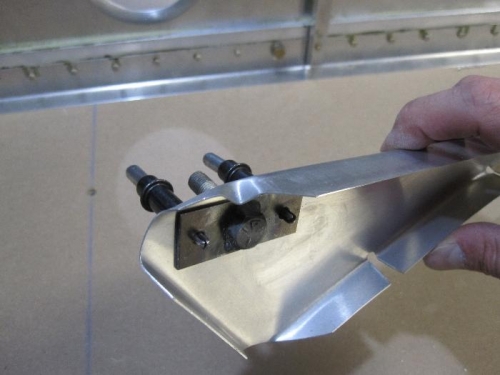
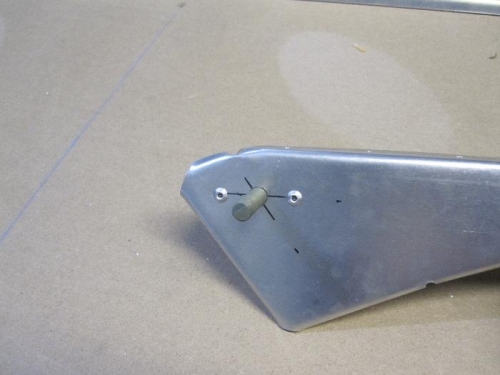
Luckily I looked at the pictures that were supplied in the CD because I never would have thought to do this step first and the IPL directions do not even mention that it needs to be done!! There is a pin that the aileron control rod will attach to that needs to be installed in rib #1 BEFORE closing the assembly up. As stated, the directions don't mention it, btu the plans do. If you weren't paying attention and closely scrutinizing the plans, it's easy to overlook. I went ahead and installed it first (for both ailerons since I was already at it) so I wouldn't forget to do it later. I used a square marked at 20mm and 30mm as seen in the pic. I made two marks on the rib for each distance so I could draw a straight line. Where the lines intersect is where the bolt should be centered. I then held one half at a time as I drilled and clecoed. The bolt position is important, not where the rivets are, so I just "eyeballed" where it looked straight. I then cleaned everything up, painted the joining area and riveted. Best to go ahead and get it out of the way while I can.