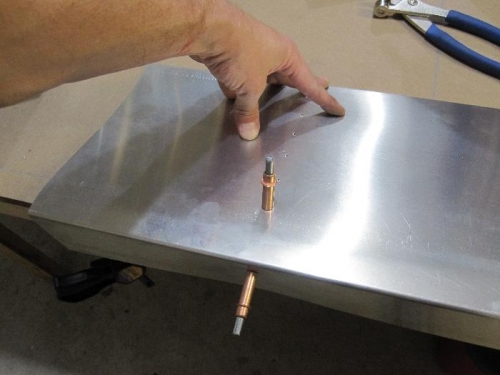
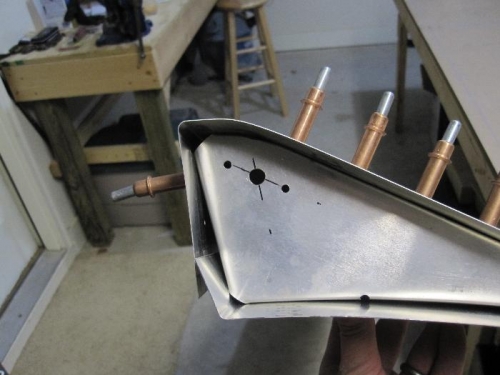
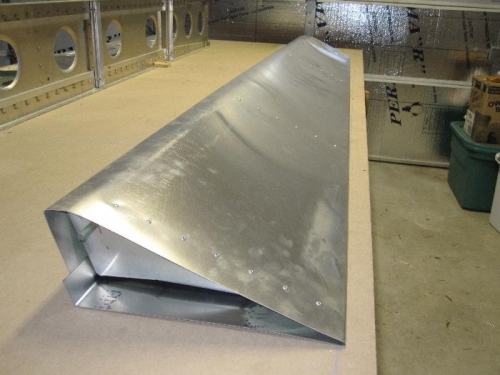
Using drawings, IPL and pictures on CD the aileron ribs were positioned inside the skins and upper portion attached. This was the most difficult assembly for me so far. I wish I had a helper for this and will probably get one for the left aileron. All I can say is USE A GLOVE! My forearm got tore up from holding the skin halves apart. It is important that the ribs be snug against the upper angle of the skins when drilling the first hole for cleco. It can be seen in the upper left of the second picture. Eventually I got everything straight and once the first couple clecoes were in each rib the rest went smooth. Took everything apart, cleaned, painted the adjoining surfaces, then riveted the top portion only for now. I'll paint the rest of the inside of the skins before I close the whole thing up.