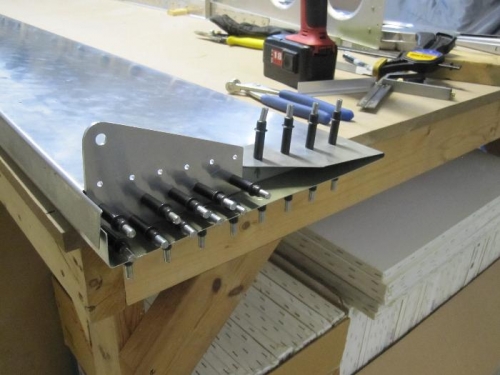
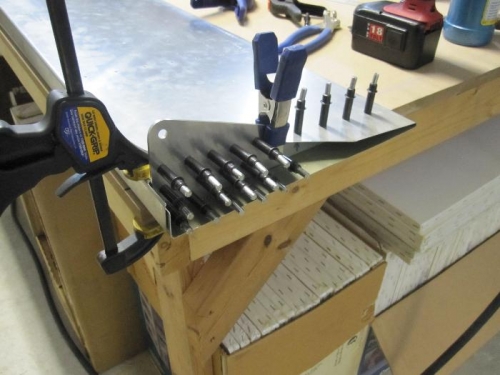
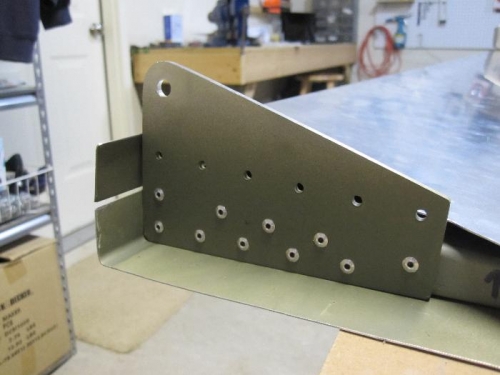
Trimed inboard edge of flap skins as directed in plans. This was a bit tricky since there was an angle that attaches to the hinge that wasn't to be cut. I traced everything out then used a combination of snips and pneumatic rotary cutting tools. I then used a file to clean everything up and get all measurements exact. The measurements on the plans for the control lever cut-out on the skins only partially covered the dimensions, so I estimated based on the pictures supplied in the factory CD. Rib #1 was slightly bent inward from the factory, so I'll have to bend the control lever out slightly when riveting so it'll be inline with the control cable when installed. After the control lever was clecoed to the rib I had to install a standardf "L" angle on the rib side of the lever. I used clamps to hold the "L" angle down tight on the riba nd up against the lever. I then riveted the lever to the rib, but will wait to rivet the "L" angle until I do the rest of the skins.