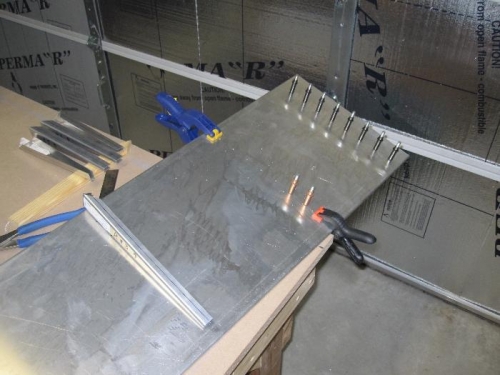
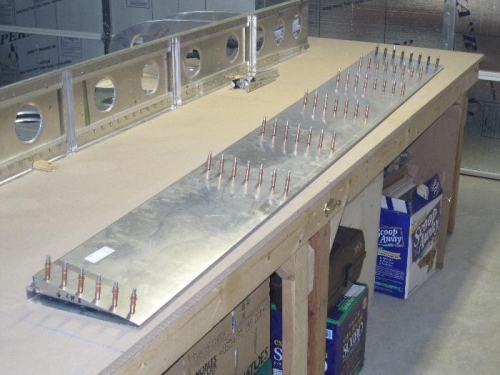
Laid flap flat on table then riveted as per design and construction standards. The flap will need to be raised slightly on the outboard edge on final assembly. It's only about 12mm though, so it won't affect the riveting of the lower portion. Riveting the lower portion now will help keep everything stable for the rest of the flap assembly. In th first photo you can see how I got each row started. The skin needed to be snog against the trailing edge and hole distance was important since the skins can pre-drilled from the factory. I started each row holding everything tight with clamps and using ribs from the other flap to ensure I had the proper edge distance on the ribs that were inside. After I had all the rows started, I laid the entire assembly flat on the table and worked from inside to outside, trailing to leading edge as i drilled and clecoed. While drilling and installing clecoes, I laid heavy blocks on each end to keep the whole assembly straight and flat on the table.