Installed leading edge tapes and a patch over the transition of the trailing edge tapes.
* Since they are very visible on the completed plane, I spent a lot of time working to get the leading edge tapes on straight and without any bubbles.
* After making chalk lines to define the tape area, I put down two coats of glue and let it dry.
* Starting on the top of the wing, I wet a 1/2" wide strip and placed the fabric using the chalk line to keep it straight.
* Then I went back and glued the remaining 3-1/2" of the fabric. What I found worked for me was to quickly wet the dried glue with a thinned mixture, place the fabric, and then wipe it down with a cloth soaking wet with acetone to smooth out all the bubbles, then brushing through the fabric with thinned glue before moving to the next section.
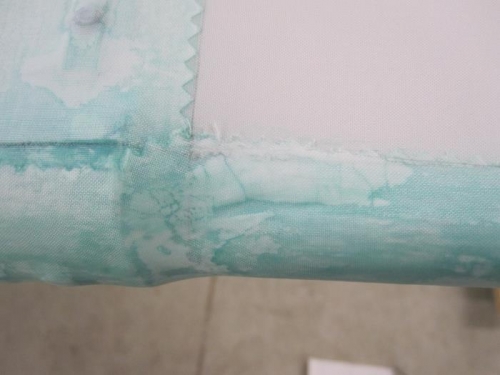
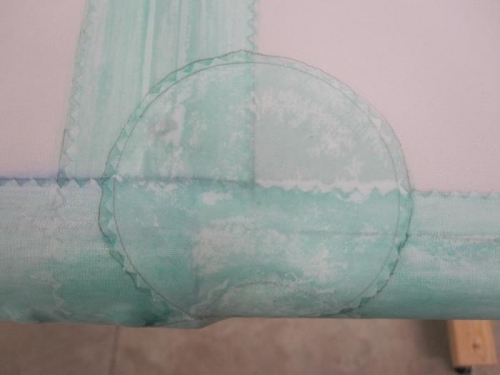
* I was not totally happy with the trailing edge fabric and tapes in the transition area between the rear spar and the tip bow. The fabric needs to make some pretty shape corners and changes in direction in this area, and I found it difficult to get a good glue seam. I installed a set of 3" patches to seal up the integrity in this area and make sure it has no possibility of coming loose after painting.
* This finishes up the wing covering. I have started designing a rotating stand for the fuselage, and hope be constructing it next weekend.