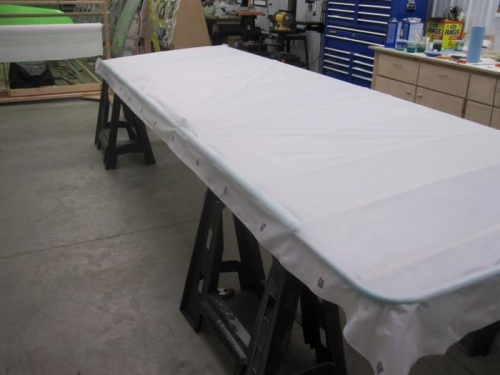
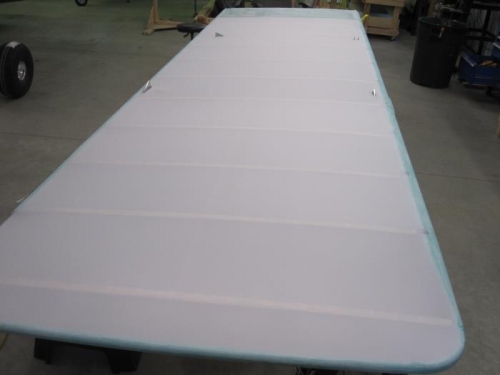
Brief Description: Covered the bottom of the LH wing.
I applied the covering to the bottom of the LH wing.
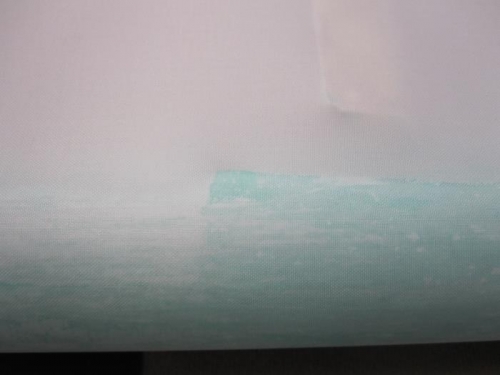
* My process is to the lay the covering on the wing frame set bottom side up, and gluing about 1 to 1.5" around the perimeter of the frame. Once dry, I turn the wing over to trim and glue the loose edges. When I turned the wing back to bottom side up and`performed the 250 degree shrink I found that some of the fabric had adhered too far around the tube spars pulling the bottom surface out of place. To fix this I used a small brush and straight acetone to "paint" the areas I wanted to "un-glue". After keeping the area wet for a minute or so, I could see the glue under the fabric had become a liquid. I quick pass or two with a hobby iron would result in perfect results that I could verify with a straightedge.
* I have noticed that each time I tackle the covering of a part I seem to be pretty happy with the initial results, then somewhere in the middle I get a little discouraged and start to think I might have messed it up, but with a little patience and diligence the final product has consistently turned out to my satisfaction. I think I am learning that when covering problems are encountered the proper procedure is to take a few minutes to ponder the situation and then just work wisely and patiently. I have been amazed at how well the covering will clean up after the initial application.
Next is covering of the RH wing, and then I will do the tapes and patches on both wings at the same time.