* The covering process is going a lot slower than I anticipated. I am getting a little faster as I gain experience, but not much. I am pretty sure I could move much more quickly with a little more TLAR measurements, but I am taking my time to do a job I am proud of. So far I am happy with the results.
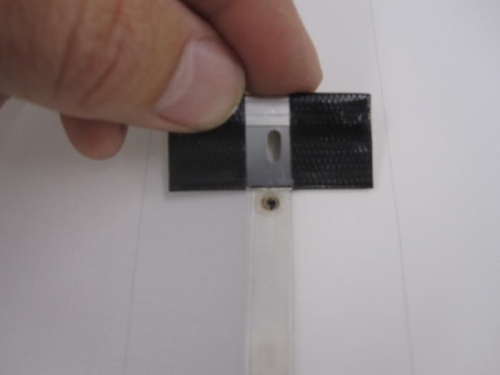
* I taped up the sides of a razor blade leaving the center exposed to trim the melted plastic from the rib strips. The intent is to make it almost impossible to accidentally cut the new covering along side the strip.
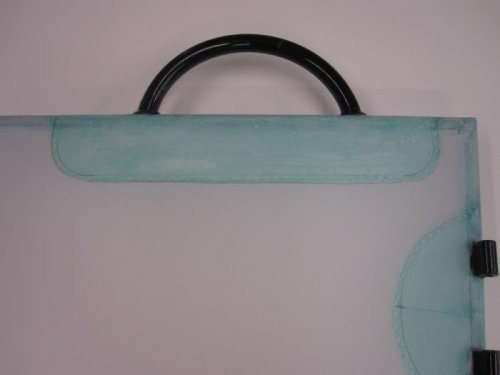
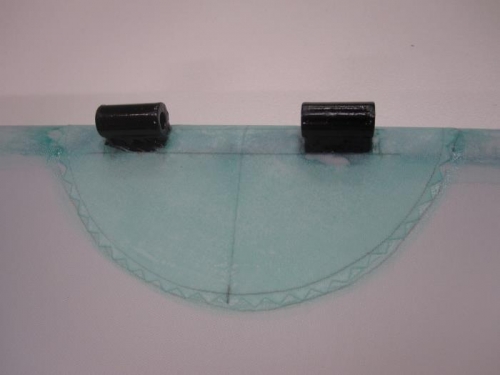
* I have been doing the patches which wrap from the top to the bottom one side at a time. I start on the top side so I can line it up and make it look nice, and the bottom ends up where it ends up, although the bottom is turning out as nice as the top. When I apply the first two coats of glue for the top side I wrap the glue around to the bottom of the tube. Then when I am applying the first two coats to the bottom side I don't have to go right up the patch, with prevents a glue ridge where I stopped on the first half.
* After the glue is dry I use the hobby iron to eliminate any glue ridges or bubbles. Randy Long (Superflite) said "The iron will be your best friend" and he was right.
* The Florian pinker makes cutting nice looking round patches easy. One of my mentors warned me to not drop it, as this flat spots the wheel or cutter, which takes all the fun out of it.
* A few tapes and the stabilizers will be ready for paint.