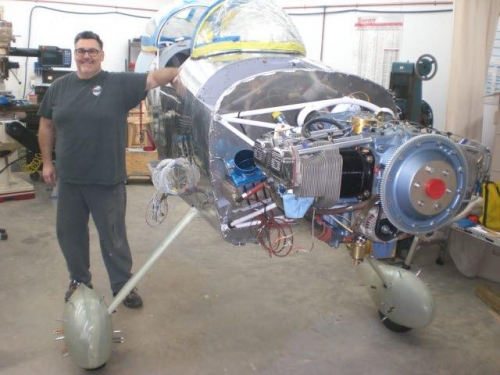
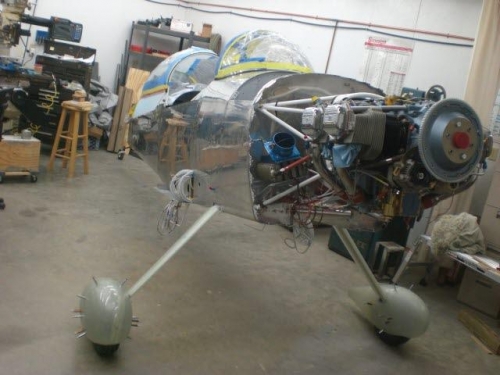
The shims came in via FEDEX yesterday and immediately I got to installing them after work. Rob said he would come over after his workday and help me complete the wheel pants if the shims came in and I could get them on (PS.....the first set of shims are still lost somewhere in postal oblivion).
Anyway the shims are fairly easy to install. It was a little nerve wracking since the airplane was balancing on the tailwheel and was heavier on the right side. I did the left side first and rebolted the axle on with the shim and re-torqued all the bolts. To do the right side I had to use ballast on the left gear....I got out my diving weights and a few other items and got enough weight to hold the left side down while I removed the right tire and installed the shim. In reality the setup was stable...it was just my feeling that something "could" happen. After the wheels were back on I reset the fuselage back to level front to back and side to side. I had just finished doing so and was rechecking the fuselage center line on the floor when Rob showed up.
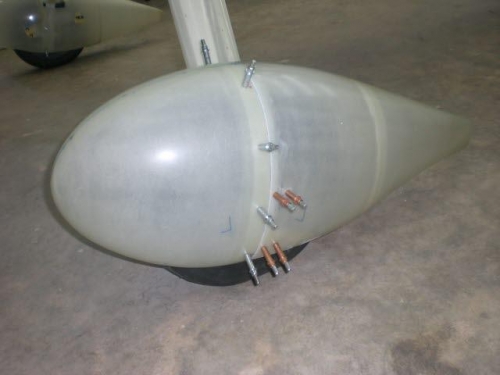
The fuse had shifted about 1/4 inch or so while jacking it to install the shims so Rob and I marked a new centerline. We remeasured the tow and the right was 0 degrees and the left was 1/8 degree tow in. We put the wheel pants on and began to reset the level and horizontal positions with lots of measuring and tweaking. We got them drilled and then clearanced the tires as adjusting the wheel pants required more modifying.
Thanks to Rob for the additional help and experience once again!!!