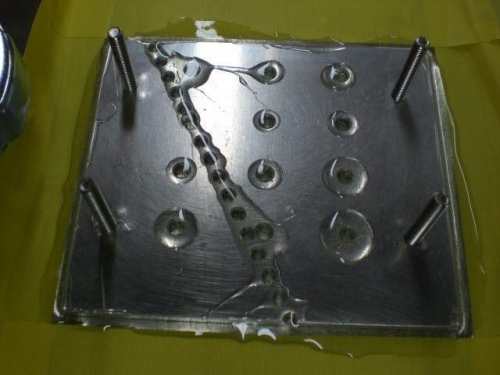
I prepped the tank for laying the epoxy down to secure the pump mount.to the tank. I used a piece of 120 emery cloth and scuffed the surface well. I cleaned and wiped everything down with alcohol afterwards. I laid a border of tape around the area to keep the epoxy from getting out of control.
I checked the mount in position one more time. There was a slight rock to the mount so I took it in the shop and played with it for a while using a C-clamp and blocks to tweak the mount a little bit and remove some of the rock. I wiped the mount with alcohol and set it in ready position.
I have larger bottles of JB Weld which total 8oz. Instead of trying to get the puddles the right sizes I took an epoxy cup and using my postal scale on grams I mixed exact ratios of 22 grams of resin and hardener each. This is 5-minute epoxy and it really does set fast. After mixing the epoxy I laid a bed down in the taped off area, took the mount and set it in place and pressed it into the epoxy. I then used a popsicle stick to work the epoxy in place and fill the "epoxy rivets" that I made by drilling holes in the mount. I continually tested the epoxy for how it was setting up and after less than 10 minutes decided it was time to remove the tape before it got trapped. Now it will just be a matter of allowing everything to sit and harden.
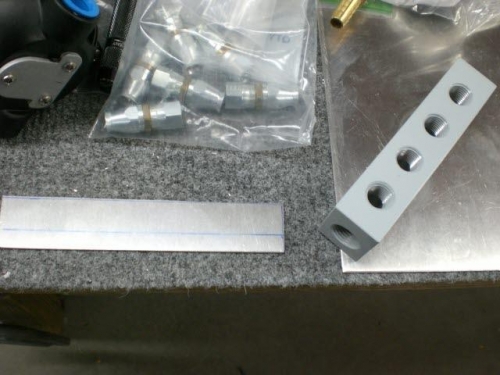
I moved on to working on the location for the smoke distribution manifold for a bit.