Brief Description: Cowl Work and Empennage Fairing
I got started by sanding the Evercoat metal glaze that I spread on the upper cowl to fill the divots that remained. It takes a bit to sand the Evercoat. I put as thin a layer as possible on the cowl but the Smooth prime is so soft and smooth you can feel any surface imperfection so I worked it till I felt no surface irregularities. I started with 320 grit sandpaper on a bondo type sanding block. I then use a sponge sander with 320 wrapped around it for better conforming to the cowl curves. Finally I used the small sanding blocks I bought at Ricks suggestion for getting the final areas done. They really work great as there ar curved ones and square ones and are a little denser than the sponge so they target specific areas. With that completed I will now put a coat of two of Smooth prime over it. The honeycomb divots have been a pain!
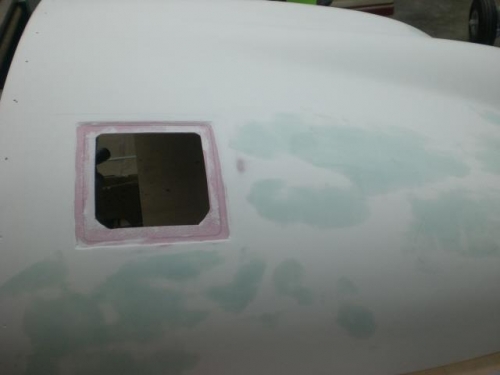
I got out the dremmel and sanding blocks and took time to finish sand the oil door opening.
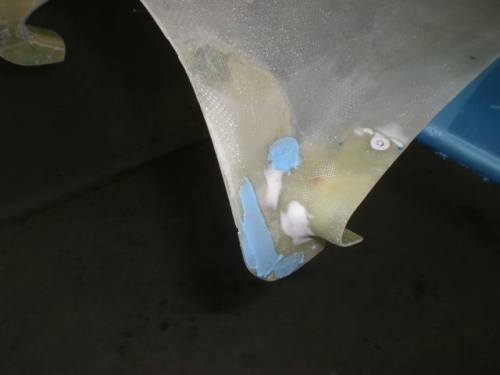
Finally I laid some Superfil (another great product) on the empennage fairing and the rudder fairings for smoothing transisions. It was a beautiful day to work outside.....but have an afternoon doctors appointment....bummer....