Brief Description: Empennage Work on Fairing & Misc.
I started the session by setting up and getting coat #2 of the Smooth Prime on the lower cowling. Once again I am glad to have put the skim coat of Superfil over the honeycomb area and sanded it all down with 150 grit sandpaper using both an orbital sander and hand blocks. I would highly recommend....it is worth the work.
Rob was going to the chapter "Chili Cook-off" and mentioned he could come over in the afternoon to get some nutplates and rivets in the tailcone section put in as it is a two man job! I got the tail section set up for when he came.....today is hopefully the last time I go in for "deep dive"!
While waiting I got the empennage fairing cleaned up where I laid some milled fglass filler to some spots on the fairing in the last session.
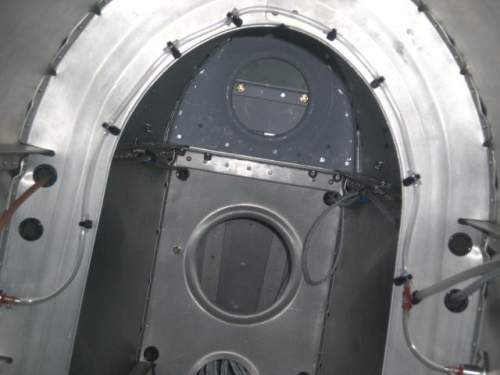
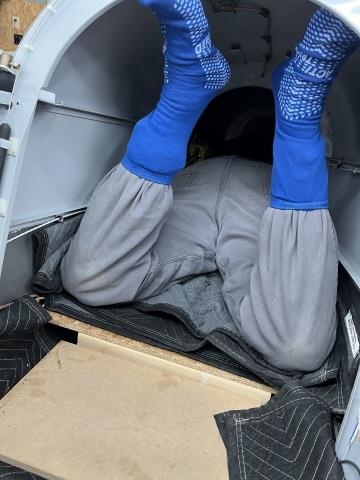
When Rob came we discussed some things, one of which I wanted to move the forward fairing screw location. It was lined up with the leading edge but I decided to move it below the horizontal stabilizer. We got the outside holes where we wanted them to be and then I gathered my tools and supplies to do the tailcone deep dive. Armed with the supplies I inched my way down the tailcone which is more difficult than it was 11 years ago! Once in there we coordinated and got the nutplates and rivets installed. I was then solo to get the two Adels installed and the wires secured in the tailcone area. I finally crawled out....sweating and cut from bulkheads...but mission accomplished! Thanks again to Rob for the great assistance!!!
Install nutplates, plug holes, Adel clamps
A big gopher down a small hole.....homebuilding can produce some pretty unflattering photos at times!!
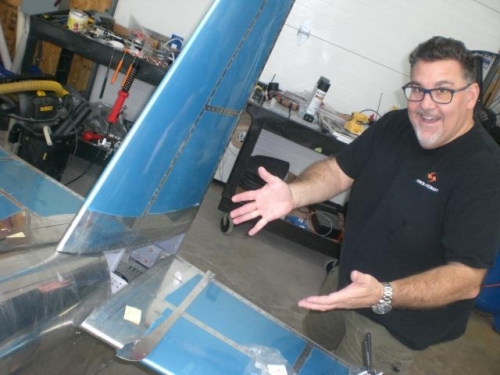
The "Rob Brooks E/AB Action Figure" on sale at EAA!