So I went through the same drill and got everything back in shape to retry the operation again. The fairing was all cleaned, a lot of packing tape was removed and changed, and some fitting and grinding was done to get the transitions acceptable.
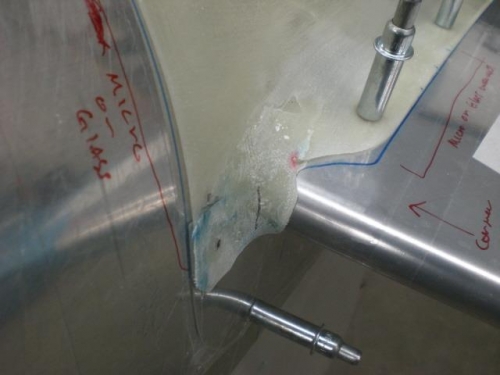
I then made new templates for where I wanted to put fabric and matked the locations where I wanted to lay glass or flox.....or both. With everything marked I cut the pieces out of cloth and laid them out ready for resin and laying them out.
The first batch involved the cloth laid on the bottom of each area some followed with flox for filler where it was needed. Then the fairing would be laid on the airplane and clecoed in place. Next the top layers would be laid on followed by peel ply.
I went through a dry run and talked myself through the process to make sure I had it down pat. The reason is I would be using the "fast" hardener because I couldn't trust the can of slow stuff to mix correctly.
I followed the process and really just had enough time to get it done before the epoxy started getting gooped up....the prep paid off! I laid some peel ply on it and walked away after making some final checks. We will see tomorrow........
Cleaned up ready for Ver 2.0
Completed....peel ply lookes like a bad shaving day!