Brief Description: Oil line restrictor and Alternator
I was able to get a little shop time in today after getting home from a work trip on Saturday evening.
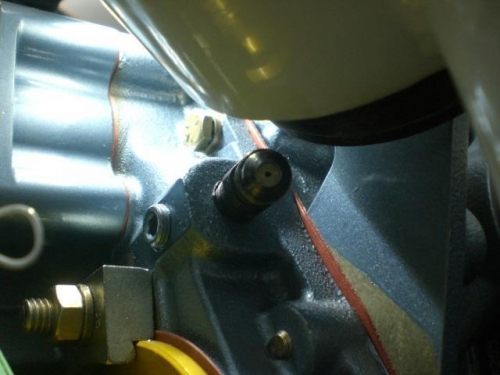
With the limited time today I got started on removing the oil pressure sensor line in order to finish and install the restrictor into the fitting. While I was gone the strong LOCTITE 640 High-Strength Sleeve Retainer, High-Temperature, High-Stength, Anaerobic Adhesive to ensure the restrictor would stay in place.
Unfortunately the fitting opening in the engine fitting was about .005 smaller than the one I made. So after making some modifications on the diameter it was ready to be installed. I used alcohol to rinse the inside of the fitting with Q-tips. The restrictor was washed off and I applied the Loctite 640 to the restrictor and after getting it started I used a punch to drive the restrictor the rest of the way into the fitting. I had used an automatic center punch to raise the surface on the diameter of the restrictor in order to provide a press fit on the restrictor along with the Loctite I am not worried of it coming loose. Anyway with the length of the restrictor making it impossible to go past the 45 elbow into the engine and the restrictor plug unable to fit past the hose opening either all should be well for the duration.
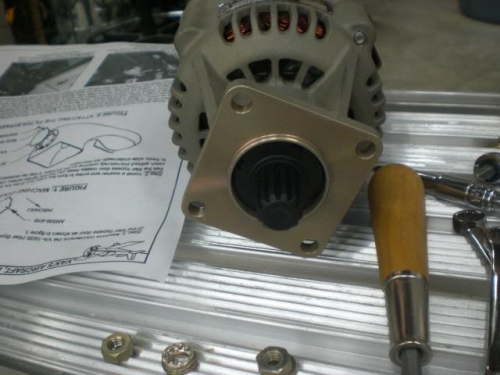
I removed the Standby Alternator to get it ready to install with gaskets on the accessory housing and make sure the coupler was installed.
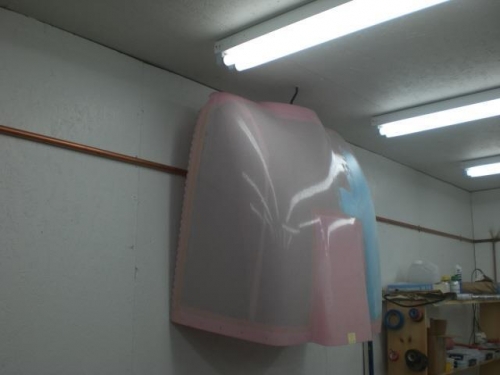
I got some of my hooks from my supply of building hardware in the house and uses two to hang the cowlings to just get them out of the way.....and easy access when ready to work on them.