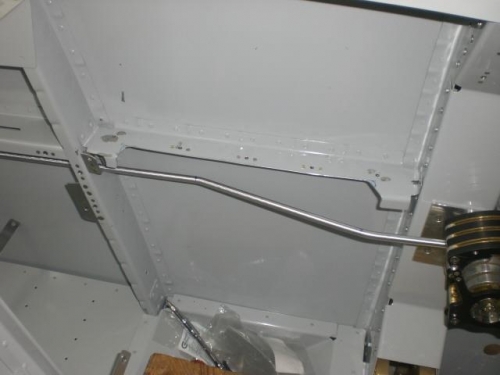
I continued working on the throttle quadrants tonight. I started by reinstalling the throttle quadrant into position on the left fuselage wall.
I located and levelted the interconnect rod to the place I wanted it to intersect the handle and then marked the bulkhead, I couldn't use Vans pattern as the customization I did for my throttle places it higher on the left side of the fuselage wall than the standard throttle setup I cut the hole through the bulkhead and used my dremmel and files to get it finished.
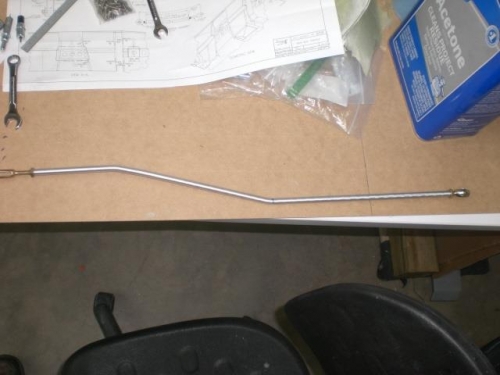
The rod was too long to get in place to fit so I cut some of the excess off still leaving enough to have some extra to play with. I attached the clevis fitting to the front of the interconnect rod and put a screw throught it into the throttle arm to hold it in place.
I marked the first bend of the rod in the forward portion. I then estimated where I wanted to bend the rear bend and marked it and made the opposing bend. With the rod in the ballpark of where it needed to be I fed it through the bulkhead and installed the rear throttle and marked where the rod would fall on the rear lever. I removed the rod and using the rod end where it would sit to attach to the rear throttle lever.....still leaving a little length for buffer. I drilled and threaded the end of the rod with the 1/4-28 tap. Now it is just doing some final length adjustment and tweaking the bends in the interconnect rod as well as cutting the length of the rear throttle lever and completing the install.