Brief Description: Cowl Inlets and Baffle Trimming
I continued on with getting the cowl inlet ducts placed on the top cowl. I was surprised how good the ducts actually fit the contour of the cowling and fit into place. I drilled and clecoed the back edges of the ducts in place on the cowl.
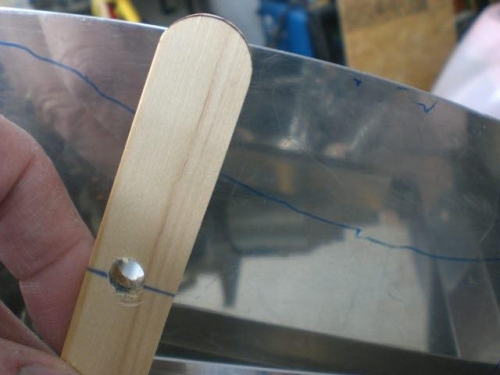
Next I placed the top cowl on the airplane in order to see where I had to trim the baffles in order to get the cowl to fit with having the inlet ducts on now. After getting everything squared away I measured about a 2.25 inch interference from the inlet ducts. I used Robs method of putting a marker through a stick (the same one I used to trim the baffles origonally) but instead of using the 4" marker hole I drilled another one at 2.25 inches. There was room to get the stick in without having to cut it so I marked all the baffle areas that had to be contoured around the inlet ducts.
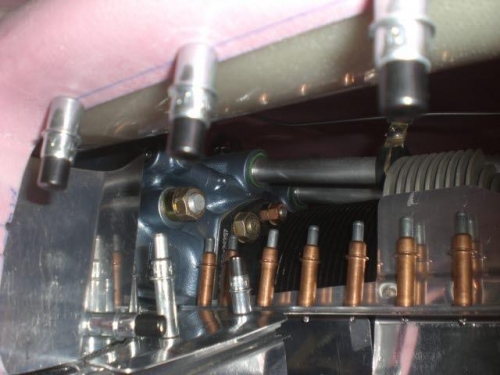
With that done I went through the process of cutting...rechecking....cutting more.....rechecking again, rinse and repeat steps until I finally got all the baffles contoured with the right gap for the baffle seal to be installed.
I put the top cowling on the last time and double checked everything......appears to be all systems go!