
|

|
|
|
Steve & Nancy Riffe
|
Date: 7-4-2013
|
Number of Hours: 3.00
|
Manual Reference:
|
Brief Description: Left & Right skirts-2
|
|
Happy 4th everyone! Thanks to all the men and wormen serving in our armed forces.
The straight portion of the both skirts don’t fit flush against the fuse. So, after having a bit of success with the heat gun on the aft portion, I decided to try it on the lower edge. I cut a slot in a 2x4 to use as a lever to put some bend in the lower skirt. I applied heat and then tried to curl the glass to make it better contact the fuse side. Made several attempts at this and finally gave up. I mixed up some resin/flox with a small portion of micro. The micro seems to make the mixture easier to spread. I added wax paper along the side just below the rail. I applied the mix to the edge of the skirt, clecoed it in position and closed the canopy. Later, after the resin hardened, I removed the skirt. Seems that the wax paper tried to wad up toward the rear leaving a not so smooth surface. Sanded this area down and mixed up some resin & micro with a bit of flox also. Spread it on the skirt and clecoed skirt to frame. While curing, I applied the same mix to the right skirt in the aft curve section. This evening I removed the left skirt—fits pretty well all along the bottom edge now. On the right side, curve aft, I sanded the outside of the skirt to reduce the thickness of the skirt/hardened mixture. Next on the right side I need to deal with the same gap along the straight section as I did on the left.
|
|
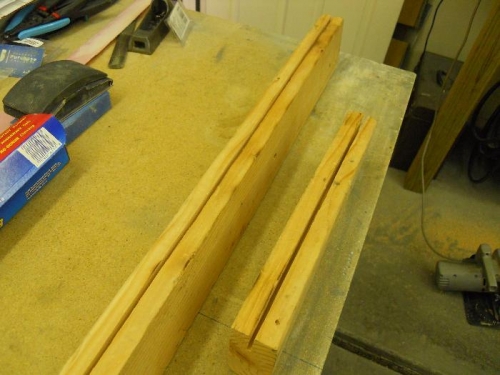
Attempt to curl lower edge---failed
|
|
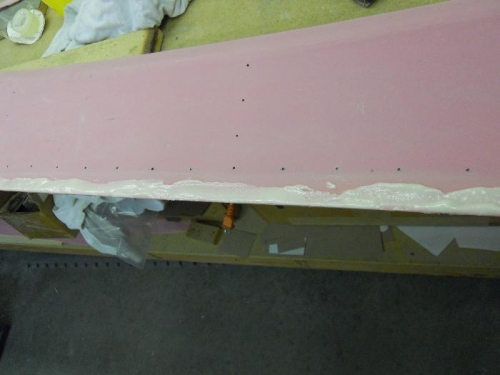
Left skirt-added resin, flox, micro to make liquid shim
|
|
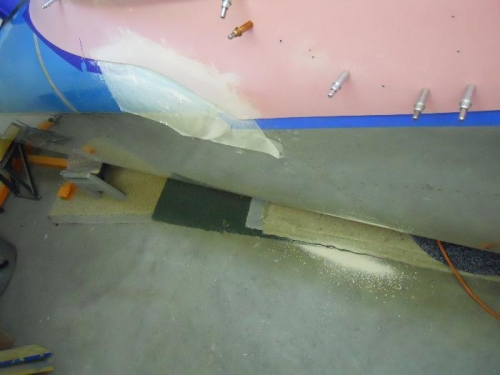
Sanded outside of right skirt to reduce thickness
|
|
|
|
|
|
|
|
|
Copyright © 2001-2024 Matronics. All Rights Reserved.
|