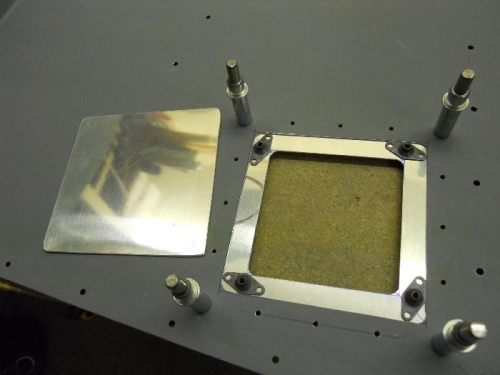
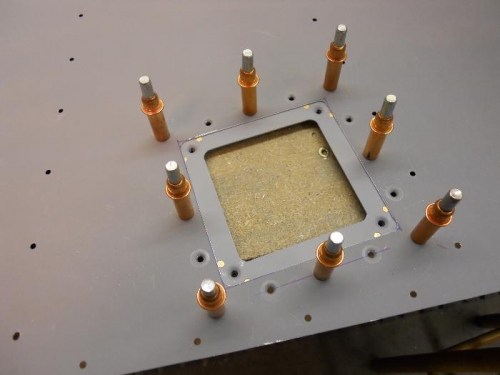
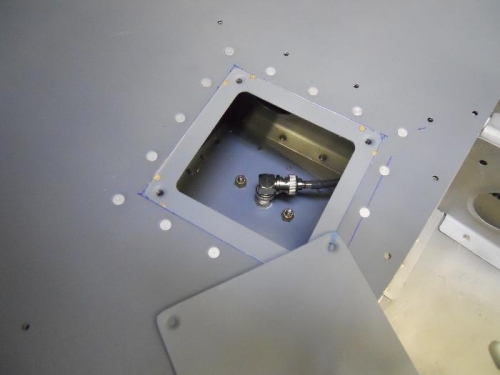
Continuing on with the xponder inspection plate, I cut the opening in the baggage floor to final size, then edge finished all parts. Match drilled the baggage floor and doubler to 1/8” and reamed to #30. Drilled the doubler for nutplates in each corner, using a nutplate for the drill guide. Dimpled the inspection plate and the doubler for #6 screws. Countersunk for NAS1097 rivets to secure the nutplates. Dimpled the doubler and floor for flush rivets. Deburred, scuffed, cleaned and primed all parts. Used the pneumatic squeezer (my favorite tool) to set the NAS rivets to secure the nutplates. I needed some AN426AD4-5’s for the doubler/baggage floor, but did not have any on hand. Used the rivet cutter to cut down some -8’s to proper length. Squeezed the rivets to secure the doubler to the bag floor. Screwed the inspection plate in place and fit the floor into the fuse. This will work just great for what I intended—just took longer than I had expected.