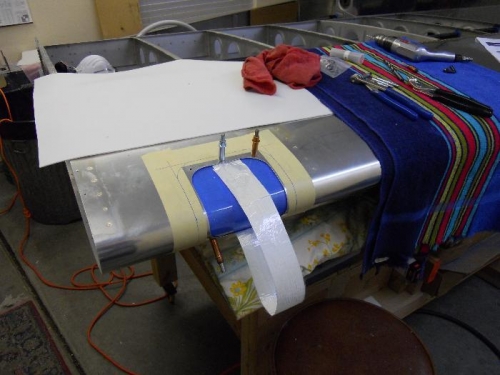
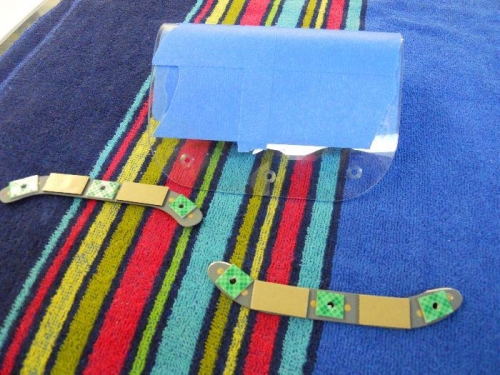
Pulled the plexi lens into the wing using my handy-dandy tool made of strapping tape. While holding the lens in place with the tape, I used the holes in the skin as a drill guide and drilled #40 holes in the plexi. Removed the plexi and deburred everything. Drilled a couple of the wing holes to #30 and reinserted the plexi in the wing. Using the holes in the wing, I drilled thru the plexi with a #30 plexi bit. Worked very smooth. Repeat the above procedure until all holes were #30. Removed the plexi and drilled it to 9/64”. I used piece of scrap angle with a 9/64” hole as backing material. Clamped the plexi to the angle and machine countersunk the lens. Then I opened up the holes using a 5/32” plexi bit. I next drilled the holes in the wing to #18 and dimpled for a #6 screw. Applied double sided tape to the backing strips.