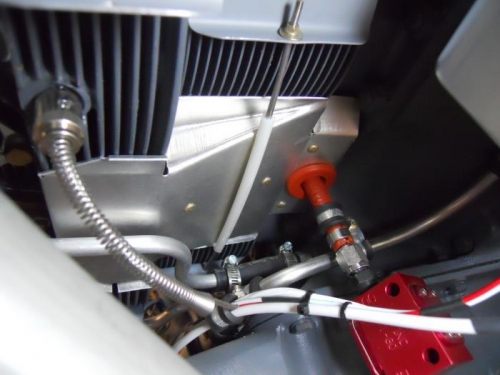
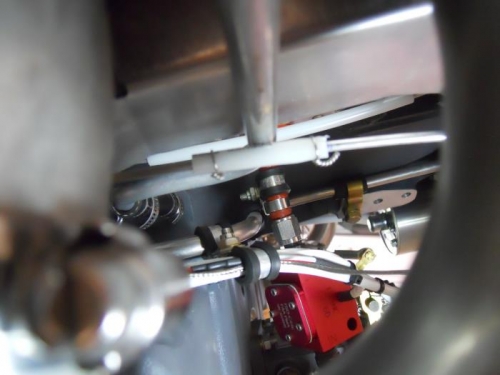
I used a coat hanger to get the approximate bends for the inner and outer tension rods on the right side. I cut the inner rod to 9.5” and made some very slight bends. It fits pretty well. I slid a piece of tubing (was supplied in the baffle kit) over the rod—this will prevent chafing where it contacts a heat shield. Then, I threaded the ends of the ss rod—this took longer than getting the rod to fit. The stainless steel rod is very hard and takes much patience to get it threaded—1/4 turn forward, back and forward again. After threading the inner rod, I installed with supplied hardware. The outer rod was more of a challenge to get enough bend to clear an oil return line. After I got the bends done and the ends threaded, I temp installed the rod—clearance between the rod and the oil return line is about ¼”—I would have liked more. So, I used some of the tubing and made a linear cut using a dremel cutoff wheel in the drill press—just no way it will slip over the bends. I worked it over the rod, then safety wired each end so it cannot move. Then, I installed the rod. Next up—tension rods for the left side.