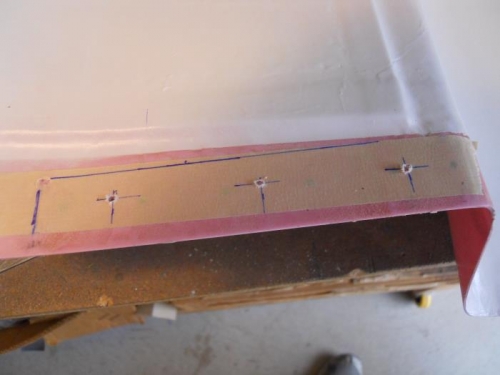
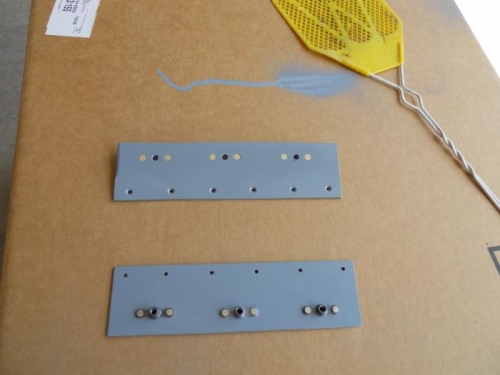
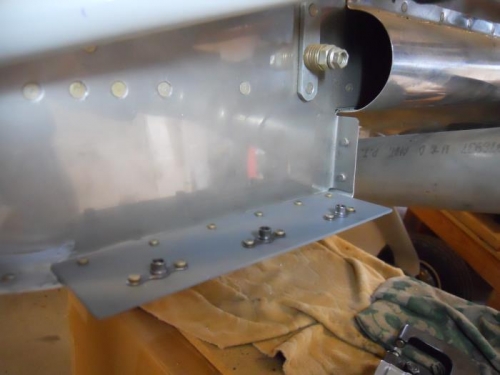
I installed the lower cowl to check how the new mounting plates would fit—looks ok. I removed the cowl and marked for 3 nutplates on each side. I drilled these to #40, the re-installed the cowl. I used the holes in the cowl to match drill thru the mounting plates. Removed the cowl, then I clecoed the mounting plates to the newly drilled holes. I drilled them up to #30, and then up to #19 for a #8 screw. I held the plates in position using some #8 screws and nuts, then machine countersunk the glass using the plate as a backup guide. Removed the plates and used nutplate jig to drill for attachment holes, then c/s the holes. Cleaned up the plates and shot them with primer. When dry, I squeezed in rivets to secure the nutplates. I clecoed the right mounting plate to the fuse and squeezed in the six rivets to attach it to the fuse. Rivets are nice and flush and the plate is rock solid. Before I rivet on the left mounting plate, I need to figure out how I want to run the overflow tube from the fuel pump.