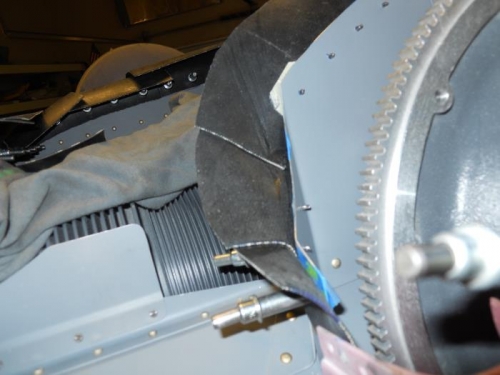
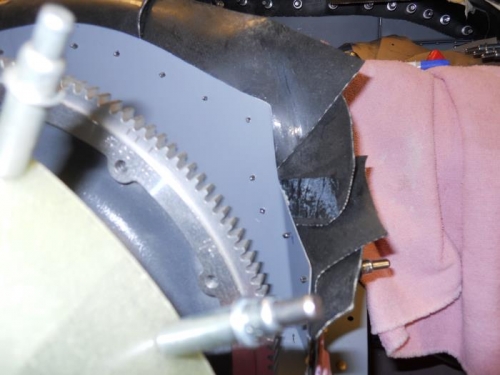
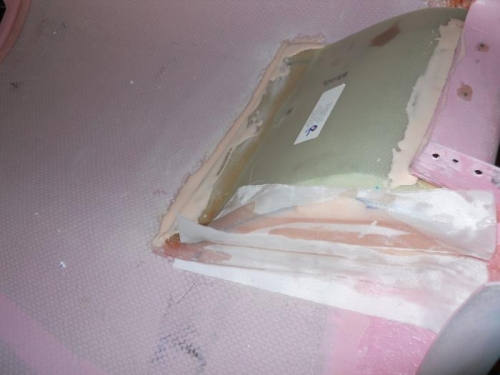
Still working on front baffle seals—removed and cut new pieces for the lower part s of the baffle. The most difficult part is where the seals transition from the cowl to the ramps. I finally ended up using 3 pieces of seal to get from cowl to ramp without any large gaps. You can’t see what’s going on inside the cowl—must all be done by feeling your way along and then cutting the seals to what you think you felt. I think what I have will work—if not I can re-do again. I really need engine heat and airflow to “seat” the seals so I can determine if I’m really done or not. I decided to glass the inboard areas of the ramps—just to be certain the air does not escape under the ramps. Again, for anyone reading this, I think it is better to move the ramps inward more than I did—you can always cut them back later if needed. I cut some foam and fit it inside the inboard portion of the ramps, then laid up some “wetted” glass strips over the foam. I overlapped the strips as well as overlapping the top and bottom of the ramps. With the left over resin, I added some micro and spread on the ramps where they meet the cowl inlet as well as the aft portion that meets the cowl—got to make the transition nice and smooth.