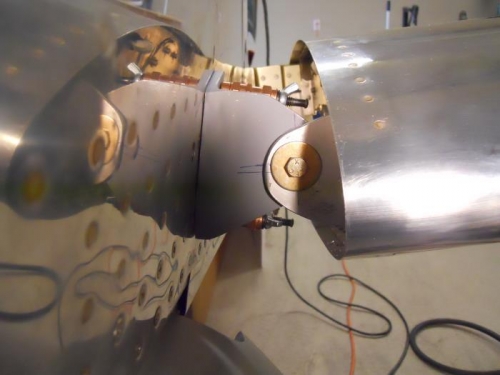
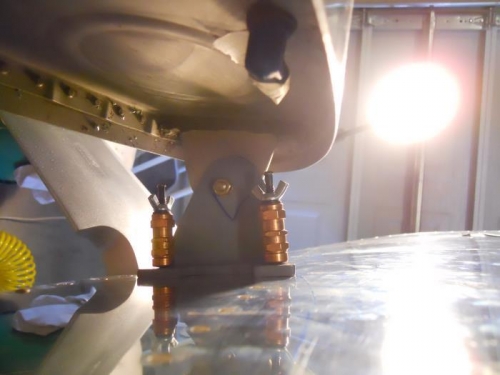
Brief Description: Finished L. tank attach bracket, started aileron i
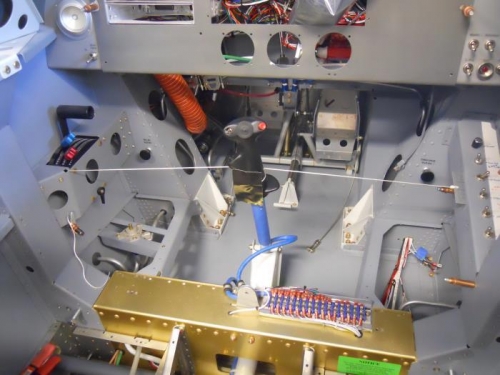
I used some draw clecos to firmly attach the left tank bracket to the fuse. Did some measurements for a hole location to match drill thru the T-405 tank angle and the F-863-1 tank attach bracket—minimum edge distance is ½”. I used about .65”. Center punched the T-405 and used a #40 to start the hole. Then I used a long 1/8” drill and a drill guide to drill the holes. I opened them up with a letter “C” drill. I inserted the shank of a ¼” ream, chucked it in the drill and pulled the ream thru. I am beginning to like this method whenever I have adequate space, cause the reamer only make one pass thru the hole. I added a bolt and washer—when the wing is removed, I’ll slot the T-405 tank tab and add a nutplate to the attach bracket. Next up was to center the control stick in the cockpit and adjust the W-816 aileron pushrods. I hadn’t seen them for over a year and found them in bubble wrap inside the wing—however, they were in the wrong rib holes, so I had to remove and reinsert them. In my garage I only had about 3” extra width to get them out—dodged a bullet on that one! Anyhow, I used a string wrapped around the control stick and secured on each end—put a level on the stick and got it where I think neutral is. Hooked up the W-816 pushrod to the WD-807 control column. Next up is to use the aileron jig to set the aileron bellcranks to neutral, then get the ailerons installed.