Brief Description: Upper cowl attach, more brake bubbles
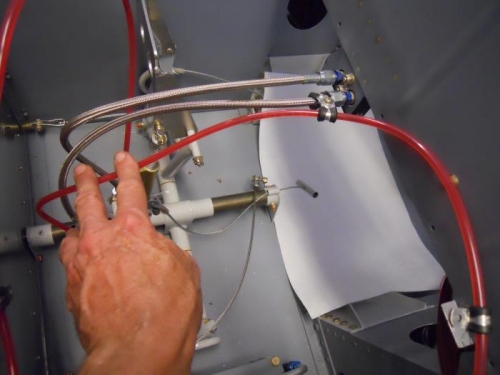
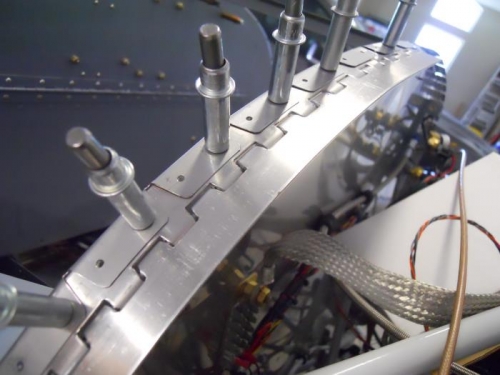
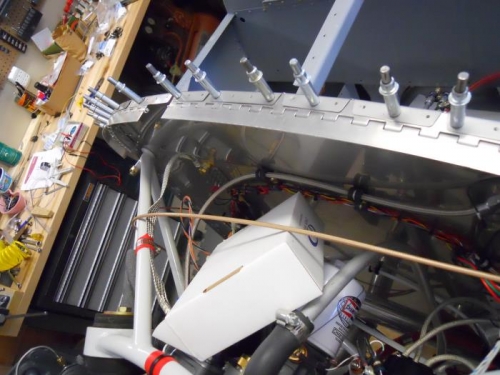
This AM I checked the plastic lines, still had a few small bubbles in each. I used a white kleenix to go around each fitting, but no evidence of fluid anywhere. I assume the small bubbles were a tiny bit of air trapped in the master cylinders. Rather than start filling again, (which I figure will introduce more air into the lines when I make the connection at the bleeder valve), I tried a different method. The air bubbles find their way to the highest point in the system. So, I removed several adel clamps so I could chase the bubbles to the reservoir. I did not follow the plans on routing the plastic lines, so this was easy to do. As I slowly chased these bubbles to the reservoir fittings I looked in the top of the reservoir and sure enough a couple of small bubbles rose up thru the fluid. I worked the pedals a bit more and saw a few very tiny bubbles. I’ll let them sit a day or so and chase them out. Moved to the cowling attach hinge and drilled the left upper hinge to the firewall. I removed the left and right hinge and deburred. I then filed the eyelets to an angle per the plans in the area where the bend is the greatest—this turned out to be a rather slow process, but got er done. The manual said to dimple the skin & f/w before getting to the installing the hinge phase. I did not dimple them back when prepping the forward skin thinking the hinge attachment would fit better if not being fitted over a dimple. Next up is to c/s the f/w side of the hinge and dimple the top skin and f/w. AND, watch for brake fluid bubbles!