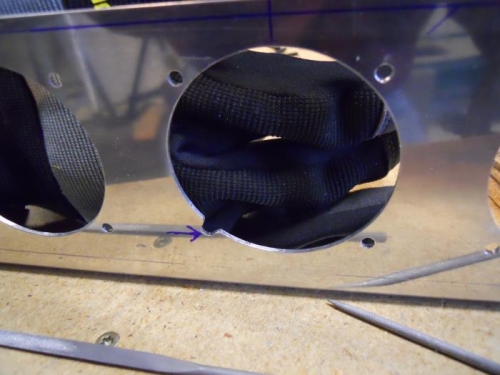
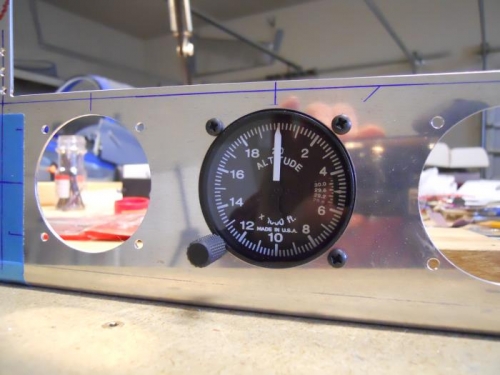
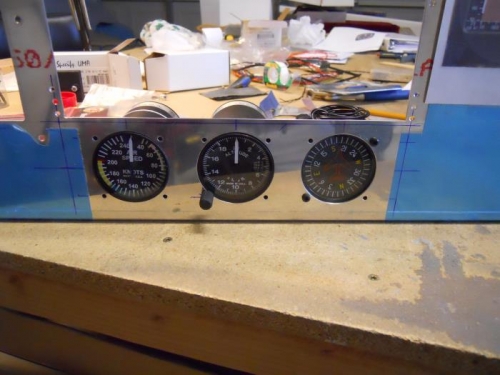
I Drilled out the instrument mounting holes to #28, one hole for the compass was off just slightly, so I drilled two of those holes to #27. I used a scotchbrite wheel on my die grinder to polish the inside of the cut outs, the deburred the mounting holes. For the altimeter adjusting knob, I had previously drawn a circle where a screw hole would have been if mounting an instrument without a knob. Then I drew a line thru the center of the opposite hole and the marked hole. I moved inward .1” and drilled a #41 hole. Looks like about the right location, so I drilled it up to #21, and filed the sides to make a slotted hole. Test fit the altimeter a couple of times until the altimeter would fit the slot. I used the dash mount bracket for the compass to mark the 2 adjusting holes on the instrument panel. Drilled these to a #21, which is a bit smaller than the holes in the bracket. I think they will be large enough to fit a small brass screwdriver thru for adjusting. I had ordered some nutrings to mount the a/s and altimeter, but found that the body of the 2 ¼” UMA instruments is somewhat larger so they won’t work—will probably need to source some brass nuts to mount them. The body of the compass is threaded for a #6 screw, so it should be good to go.