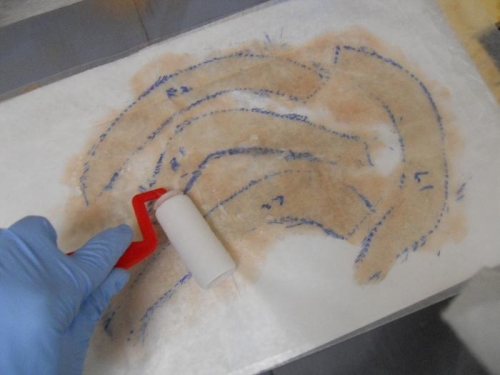
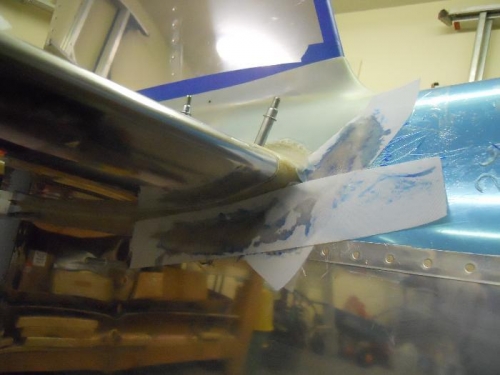
Checked clearance of both elevators where the empennage fairing wraps around the tube of the elevator horns. Trimmed the left side just a tad more and called it done. Today was the first day the temps have been anywhere close enough for fiberglass work. I cut 6 strips of glass (3 on each side) to beef up the transition where the lower fairing wraps around the leading edge of the HS. Somebody’s log had a great tip for working the resin into the glass strips—and I shamelessly copied the method. I taped some wax paper to card board, laid the glass strips on paper and poured a generous bead of resin down the center of each strip. Then I covered the glass with another piece of wax paper and used a cheap paint roller to work the resin into the glass—worked like a charm! I applied a strip of glass to the inside of the fairing on each side, then carefully installed the fairing. I followed up by applying two more strips to the outside of the fairing, then applied some peel ply. Tonight I removed the peel ply and the fairing. Will need to trim a bit and sand, but it is beginning to shape up nicely.