Brief Description: HS Assembled Left Side for Drilling
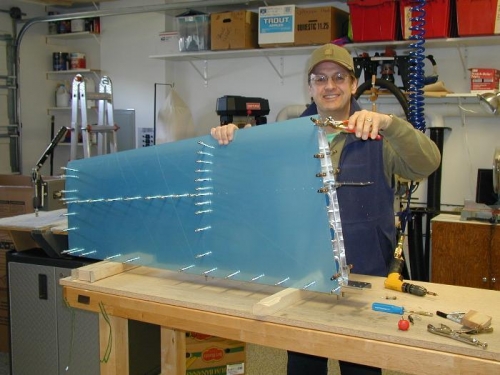
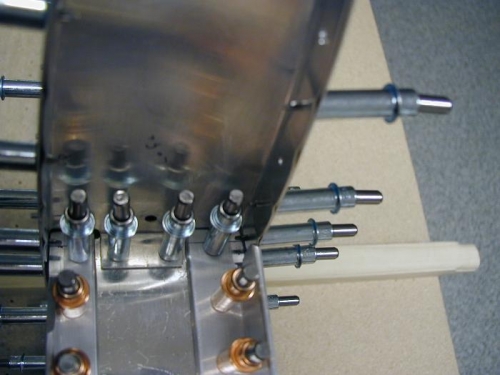
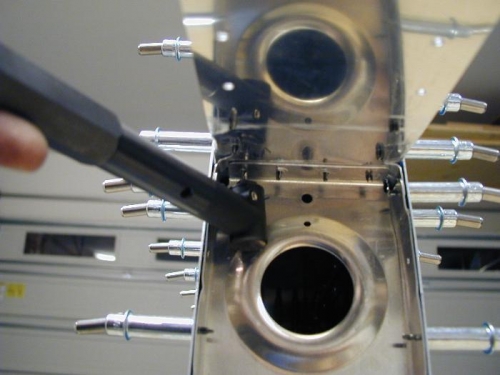
I put the first skin on the left side of the HS per instructions so I can finish locating and drilling holes. But notice I'm not using a 2X4 fixture as I've seen on some build logs. Nor did I make any clothes pin" clamps yet. I just put this together on the bench as instructions call out. Pre-drilled holes pre-determine the alignment and so assembling on the bench seems to work fine. I really appreciate the engineering that has gone into this airplane. Not just the aero-design but especially the manufacturing plan which makes it easy for novice hacks, like me, to build. I will build the clothes pin clamps to help hold the skin during riveting. I located the inboard most ribs, flutted them and started drilling pilot holes. Also, note the final drill of the front flange of the inboard rib through the front spar. The four holes came out great. I used the angled drill to ensure straightness.
Left HS for drilling
Intersection of rib, fnt spar, front rib and stiffners