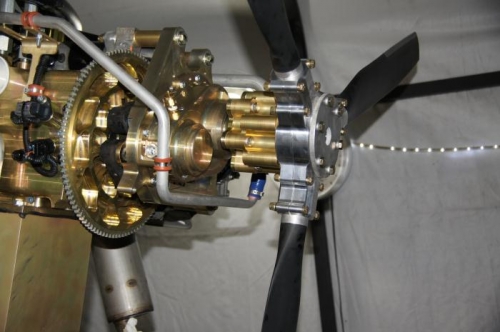
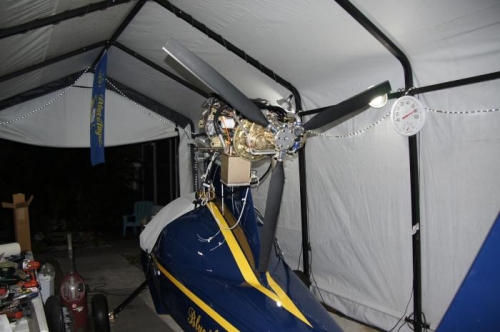
Installed the prop, a 66" three-blade square-tip carbon-fiber Warp Drive with nickel inlaid leading edges.. .yeah, that's a mouthful. This was the easiest part of the entire build so far, which is good, because I still have a concussion from hitting my head on the engine (don't do that).
Just simply put the blades between the prop hubs, screw them together, and bolt it to the engine's prop flange, adding the crush plate on front. I had previously installed a 3" extension on the prop flange.
The only thing left to do with the prop is set the blade pitch angles and torque it down to the correct values. I was happy that there was a tool devoted to setting the pitch angle included with the prop. Oh, I suppose adding the spinner is another step, but I consider that part of the cowling.