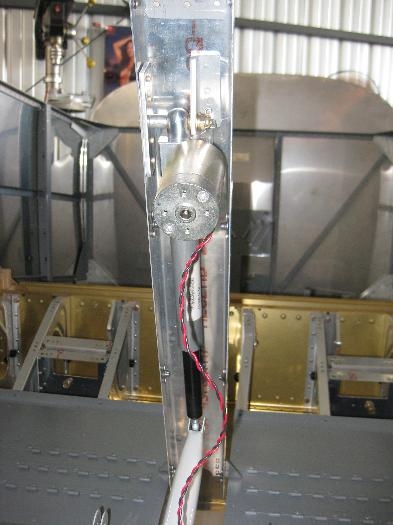
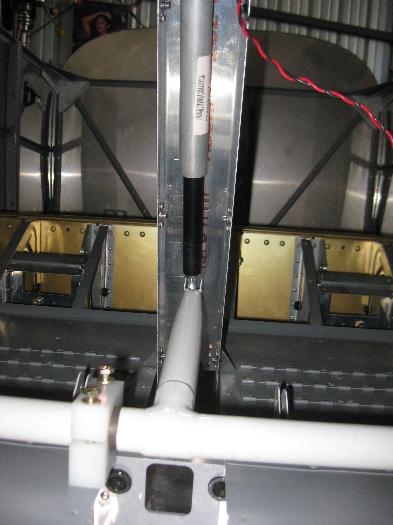
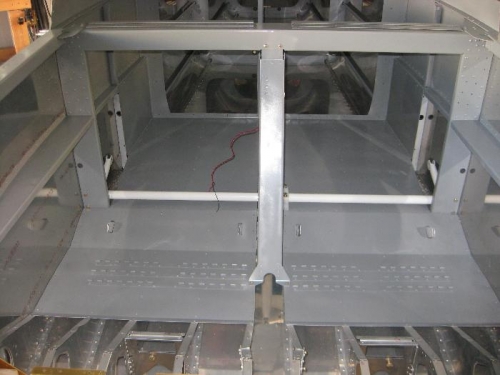
After removing all the masking tape and material I wanted to get the flap mechanism installed. The long white bar connects the flap motor to the flaps.
I gently placed flap actuator weldment (the white part) with the flap bearings in place. I certainly did not want to scratch the new paint. After inserting all the respective bolts I installed the flap motor. It was already installed inside the support channel, so the I screwed the channel inplace to check the motor to weldment attachment. The plans call for a specific spacer and washer stackup for spacing. I found there is a small amount of lateral pressure on the flap motor. I took the channel out and decided I need to change the washer stackup to relieve that side pressure. But I promised my wife I would watch the Olympics tonight, so that will have to wait until tomorrow.