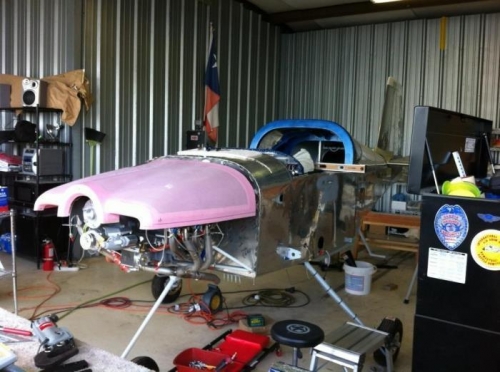
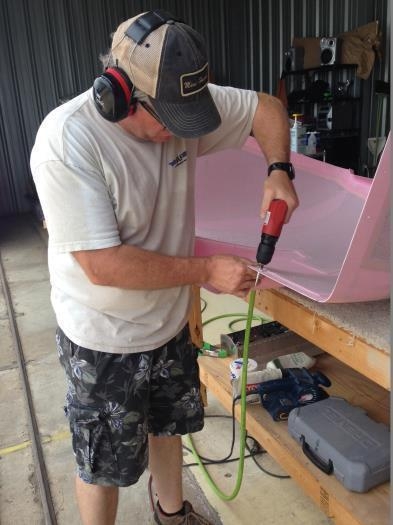
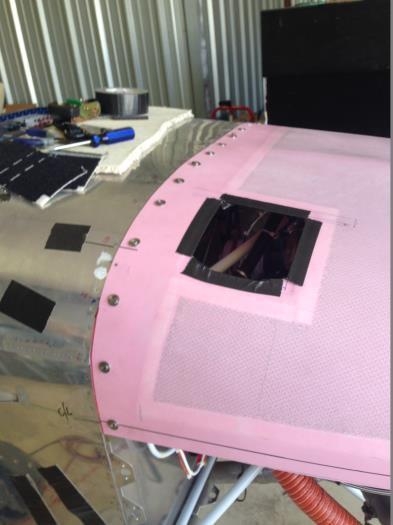
Kelli helped me position the top cowl in place on the camloc flanges and the two wood blocks (ensures correct top/bottom placement), and I drill marked each camloc hole onto the inside of the cowl. We removed it and I drilled each hole out to 1/2" with my step drill. This 1/2" hole will accomodate the camloc studs. We repositioned the cowl and I installed studs in each hole.
The female receptacles have a locking clip that is held open by a small pin. I screwed the stud down to the right level (just under flush with the top), then removed the small pin. This allowed the locking clip to click into place, setting the final depth for each camloc.
The studs also come with stainless steel retaining rings that mount onto the inside body of the stud, keeping the stud in place on the cowling. I will NOT install these until I have finished the aircraft and had it wrapped or painted.
After I completed the top half, I did the same for the bottom cowl half.