Brief Description: Installing Dynon Skyview VHF, part 2
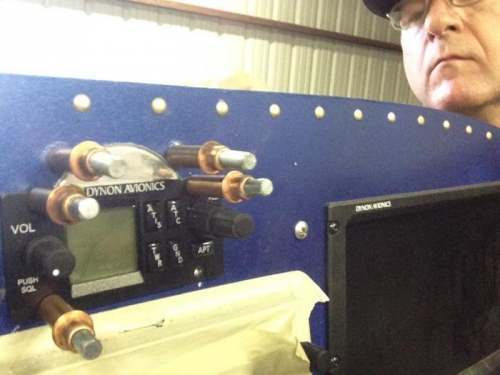
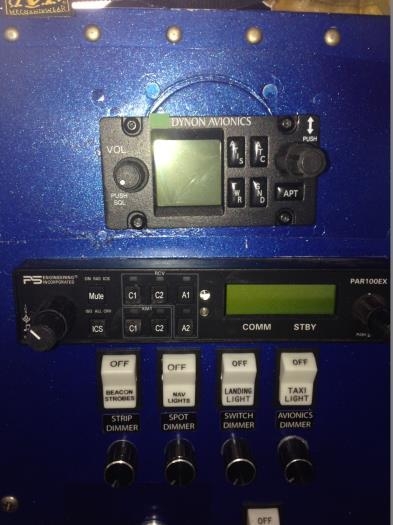
Once I was convinced I had the controller lined up, and took two whacks at the filler plug, I drilled the four holes for the controller mounting screws. These are #6 screws, so I decided to use one-sided #6 plate nuts on the back of the panel. With those riveted into place, I painted the panel area and screwed the controller into place.
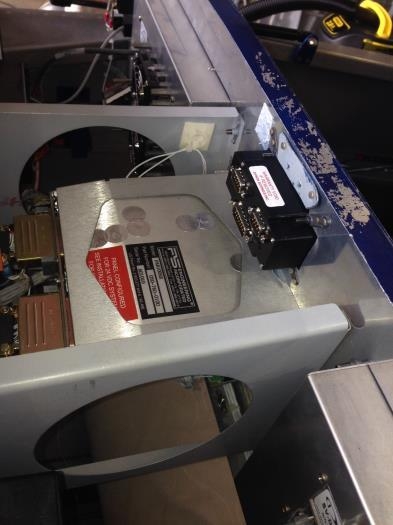
Not shown: I also mounted the transceiver to the left side sub-panel under the PAR100EX transceiver, using platenuts to hold it into place and for ease of maintenance.