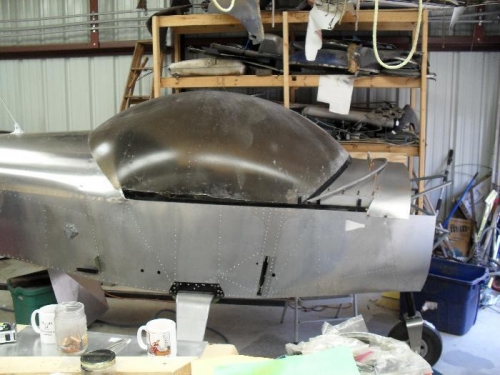
Brief Description: Position and install front canopy frame
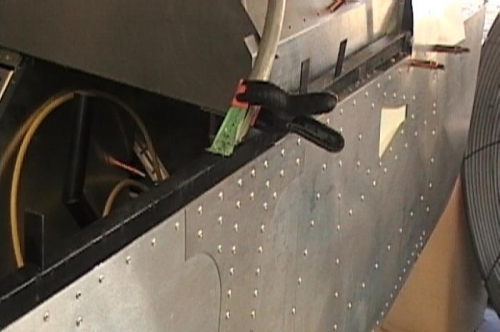
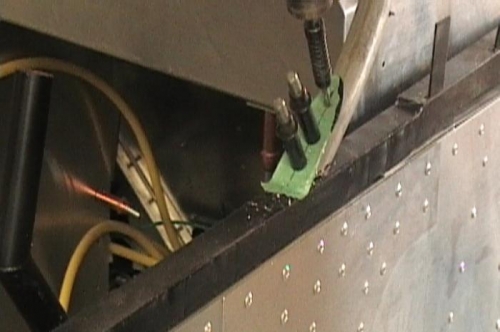
1) Marked centerline on front top skin; fore and aft on canopy. 2). Marked front edge of canopy position on front top skin. 3) Placed 40mm high spacer atop skin. 4) Positioned front canopy frame 6C3-2 on spacer, and cmaped in place. 5) Marked cut lines on 6C3-2. 6) Cut 6C3-2 on bandsaw. 7) Filed smooth and clamped in place. 8) Temporarily placed rubber trim (TA897) on canoppy front edge. 9) Positioned canopy on front canopy frame for fit check. Fits great! 10) Removed canopy. 11) Marked rivet holes to mate canopy frame with canopy side frame. 12) Drilled rivet holes with #40 bit. 13) Clamped front canopy frame in place, and back drilled rivet holes with #40 bit, clecoing. 14) Opened holes with #20 bit. 15) Removed, cleaned and deburred. 16) Replaced front canopy frame and riveted in place with A5 rivets.